Most people think of insulation as one thing: fluffy material that slows heat flow. That’s only half the story. In many homes—especially those with hot, sun-baked roofs—radiant heat is a major player, and traditional insulation doesn’t fully address it. This is where radiant barriers shine (quietly, literally): they tackle heat transfer in a different way, and they can make the rest of your insulation work better.
If you’ve ever walked into an upstairs room that feels hotter than the thermostat says it should, you’ve felt radiant heat’s influence. The good news is that adding a radiant barrier is often one of the cleaner, lower-disruption upgrades you can make—when it’s used in the right place and installed correctly.
Understanding the Missing Piece: Radiant Heat vs. Conductive Heat
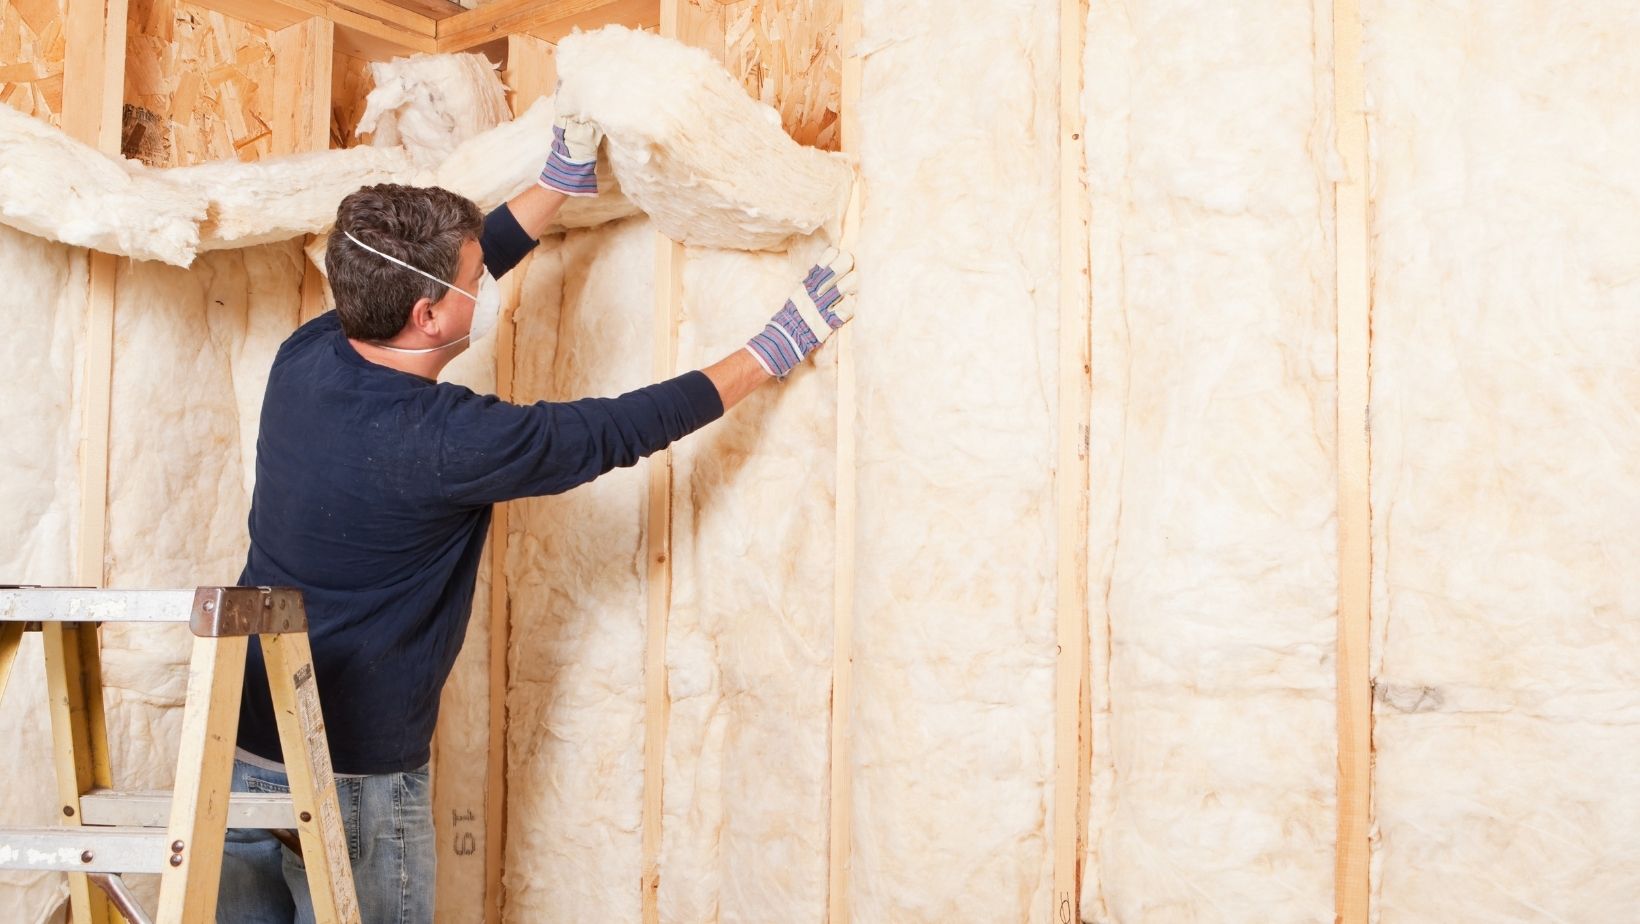
Insulation materials like fiberglass or cellulose primarily reduce conductive heat transfer—heat moving through a solid material. That’s why R-value is so important: it measures resistance to conduction.
But an attic in summer is a different beast. Your roof deck absorbs solar radiation and gets hot. That hot surface then radiates energy downward into the attic space, warming the air and everything in it—ductwork, framing, attic insulation, and the ceiling plane below. Once those materials warm up, they begin passing heat along by conduction and convection.
What a radiant barrier actually does
A radiant barrier is typically a reflective surface (often aluminum-based) installed facing an air space. Instead of “blocking” heat like bulk insulation, it reflects a large portion of radiant energy, reducing how much heat the attic materials absorb in the first place.
In practice, this can lower attic temperatures noticeably during peak sun hours, which reduces stress on HVAC systems and can improve comfort upstairs.
Why insulation alone isn’t always enough
Even with high R-value insulation on the attic floor, a scorching attic can still cause problems:
- HVAC ducts and air handlers in the attic operate in a hotter environment, increasing losses.
- Ceiling penetrations (lights, fans, top plates) become heat pathways.
- Attic insulation can heat up on top, reducing its effective performance during peak loads.
A radiant barrier doesn’t replace insulation—it complements it by reducing the heat load before it reaches your thermal boundary.
Where Radiant Barriers Deliver the Biggest Impact
Not every home gets the same payoff. Climate, roof type, duct location, and attic design all matter. But there are clear scenarios where radiant barriers are consistently useful.
Hot climates and long cooling seasons
Radiant barriers tend to perform best where cooling demand dominates—think southern and sunbelt regions, or anywhere with intense summer solar gain. Building science research and field experience commonly show attic temperature drops on the order of 10–25°F (sometimes more) under strong sun, depending on ventilation and roof assembly. That translates into reduced heat entering living space and less heat soaking into ductwork.
Homes with ductwork in the attic
This is a big one. Even “R-8” insulated ducts can lose significant cooling capacity when surrounded by superheated attic air. A radiant barrier can lower the ambient attic temperature, which can improve delivered air temperature and reduce runtime.
Older homes with modest insulation
If you’re upgrading an older home, you’ll typically start with air sealing and adding insulation. A radiant barrier can be a smart third step—especially if the attic remains harsh even after boosting R-value. It’s not uncommon to see comfort complaints persist upstairs until the radiant component is addressed.
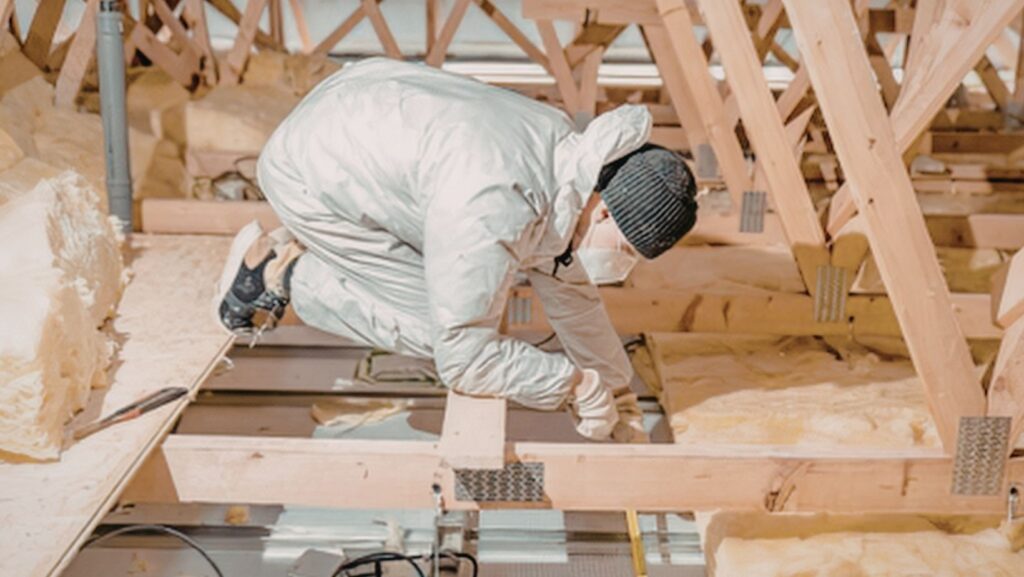
Around the time you’re planning materials, it helps to look at real-world options and specifications (width, perforation, reinforcement, installation method) so you can match the product to your attic layout. For example, a roll-based energy-efficient attic foil can be relevant if you’re comparing staple-up installations under rafters versus laying a barrier over attic floor insulation (two approaches with very different use cases).
How to Think About Installation (So It Works as Intended)
A radiant barrier’s performance depends heavily on how it’s installed. The concept is simple—reflect radiant energy—but a few common mistakes can blunt the benefit.
Maintain an air space
Radiant barriers need to face an air gap to reflect heat effectively. If the reflective surface is pressed directly against another material, it can conduct heat rather than reflect it. That’s why staple-up applications under rafters or trusses are common: you naturally preserve an air space.
Keep it clean and correctly oriented
Dust reduces reflectivity over time. In most attics, that means placing the reflective side toward the heat source and away from dusty airflow where practical. Some products are perforated to help manage moisture; whether that matters depends on your attic’s ventilation strategy and local humidity conditions.
Don’t treat it like a ventilation substitute
Radiant barriers and attic ventilation solve different problems. Ventilation helps remove hot air and moisture; a radiant barrier reduces the heat that gets into the attic in the first place. In most cases, you want both working together.
Here’s a practical checklist to keep the project on track (and this is where many DIY installs go sideways):
- Confirm soffit and ridge (or equivalent) ventilation paths are not blocked.
- Avoid sandwiching foil tightly against roof decking unless the assembly is specifically designed for it.
- Leave clearance around recessed lights or heat-producing fixtures unless they’re rated for insulation contact and you follow manufacturer guidance.
- Seal major attic air leaks first (top plates, plumbing penetrations, open chases). Radiant barriers aren’t an air-sealing product.
That’s it—no exotic steps, just respect for the physics.
Clearing Up Common Misconceptions
“Radiant barriers are only for metal roofs.”
Not true. Asphalt shingle roofs are often where radiant barriers provide noticeable benefit because the roof deck can get very hot in direct sun.
“If I add a radiant barrier, I can use less insulation.”
This is the wrong tradeoff. Bulk insulation is still your primary defense in winter and a major factor in year-round comfort. Radiant barriers are a targeted upgrade for radiant heat loads, mainly in summer.
“It’ll fix comfort problems no matter what.”
Sometimes comfort issues are driven by air leakage, poorly sized HVAC, inadequate returns, or leaky ducts. A radiant barrier can help reduce attic-driven heat gain, but it’s not a cure-all. The best results come when it’s part of a broader attic strategy: air seal, insulate, then reduce radiant load.
The Bottom Line: A Smarter System, Not a Standalone Hack
Radiant barriers make sense when you view the attic as a system rather than a pile of insulation. If your attic is acting like a radiant oven—baking ductwork, warming ceiling surfaces, and pushing heat into upstairs rooms—reflecting a big portion of that radiant energy can be a genuinely practical upgrade.
The smartest approach is also the most grounded: start with air sealing and appropriate R-value, confirm ventilation is doing its job, and then add a radiant barrier where it fits your climate and attic configuration. Done that way, it’s not a gimmick—it’s a well-understood building science tool that helps your insulation perform closer to its potential.