Discovering mold on your home’s exterior can be alarming, and you are not alone in facing this issue. According to an analysis by the National Institute for Occupational Safety and Health, an estimated 47% of residential buildings in the U.S. have visible mold or mold odor. Over time, these fungal growths can cause significant, lasting damage to masonry.
Mold on exterior brickwork is not merely a surface-level eyesore that detracts from your home’s curb appeal. Research has demonstrated that fungal deterioration can have serious consequences for building materials. One study found that after six months of exposure, fungal deterioration can reduce the compressive strength of cement-based materials by up to 17%. This guide provides a straightforward, 5-step process for homeowners to safely and effectively remove mold from their exterior brick while also outlining when a professional is needed for a more serious infestation.
Step 1: Find and eliminate the moisture source
Before you begin any cleaning, it is critical to address the root cause of the problem. Simply cleaning the visible mold is only a temporary fix if the underlying moisture issue is not resolved. Mold requires moisture to thrive, and cutting off its water supply is the most important part of the entire process. Failing to do so will only ensure the mold returns, creating a frustrating cycle of cleaning and regrowth. A proper inspection of your home’s exterior can reveal these hidden issues.
Common culprits behind exterior moisture
The presence of mold is more than just a cosmetic problem; it’s a dual threat that can compromise both your family’s health and your home’s structural integrity. Damp brickwork can be caused by a variety of factors, each creating an ideal breeding ground for mold. A careful inspection around the affected area will often point directly to the source of the unwanted moisture. Pay close attention to these common culprits:
- Clogged Gutters: When gutters are blocked with leaves and debris, water overflows and runs directly down exterior walls, saturating the brick.
- Poor Drainage: Water that pools at the foundation of the house due to improper soil grading keeps the lower courses of brick constantly damp.
- Leaking Pipes or Spigots: A slow but constant drip from an outdoor faucet or a hidden pipe leak can create a perpetually damp area perfect for mold growth.
- Cracked Mortar Joints: Damaged mortar allows rainwater to seep into and behind the brick, trapping moisture within the wall system.
- Roof Issues: Damaged shingles or failing flashing can direct water onto the walls below instead of into the gutters. Addressing these problems is key to maintaining a healthy home envelope.
- Lack of Sunlight: North-facing walls or areas heavily shaded by dense foliage receive less sunlight, allowing them to stay damp for longer periods.
Step 2: Assemble your safety gear and cleaning materials
Personal safety must be your top priority when cleaning mold from brick. Disturbing mold colonies can release spores into the air, which can pose a serious health risk upon inhalation. Studies from the World Health Organization have shown that dampness and mold are associated with a 30-50% increase in rates of respiratory illnesses. Equipping yourself with the proper personal protective equipment (PPE) is non-negotiable for this task.
Essential personal protective equipment (PPE)
Before you begin the exterior brick cleaning process, gather the following safety gear to protect yourself from both mold spores and your cleaning solution. Ensure each item fits properly and is free of damage before you start working:
- N95 Respirator Mask: This will prevent you from inhaling microscopic mold spores.
- Splash-Proof Goggles: Protect your eyes from both spores and any accidental splashes of the cleaning solution.
- Long-Sleeved Clothing or Coveralls: Cover your skin to prevent irritation from contact with mold or cleaning agents.
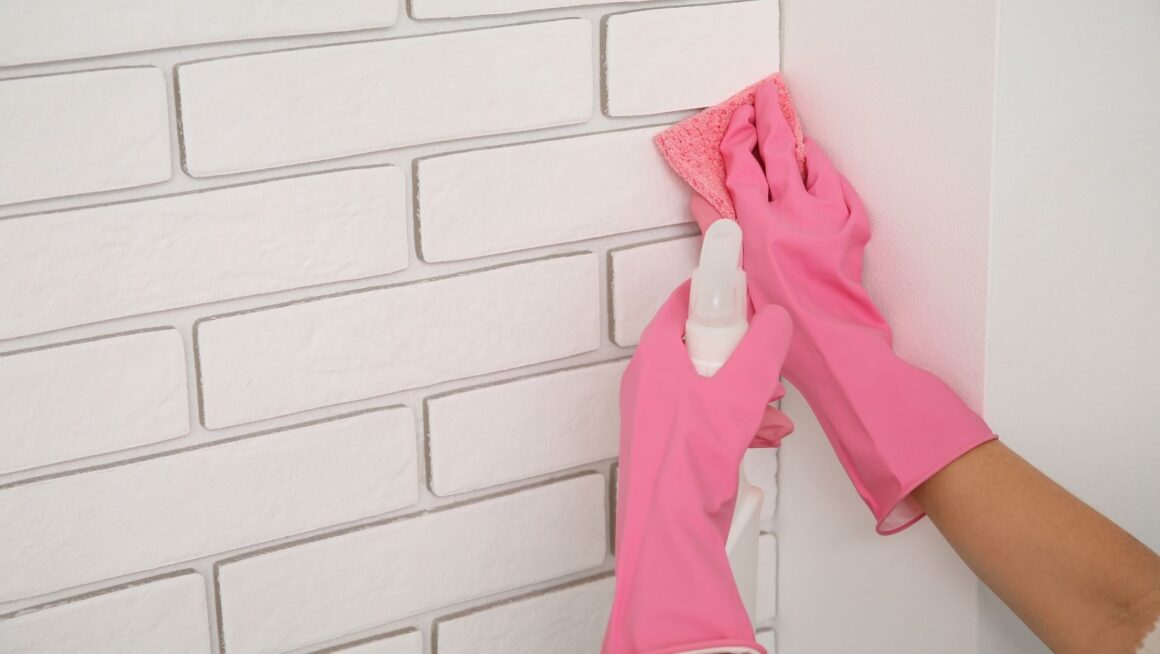
- Waterproof Gloves: Use rubber or nitrile gloves to protect your hands.
Tools and solutions for the job
The tools required to remove mold from a house exterior are simple and readily available at most hardware stores. You do not need expensive or specialized equipment for most minor to moderate mold issues. Your toolkit should include a few spray bottles for applying the solution, a stiff-bristle brush (ensure it is non-metallic to avoid damaging the brick), and a standard garden hose with a spray nozzle for rinsing.
Step 3: Prepare the surface and mix your cleaning solution
With your safety gear on and tools at the ready, the next phase involves preparing the brick surface for treatment. Proper preparation ensures that your cleaning solution can work as effectively as possible, attacking the mold directly rather than being absorbed by surface-level dirt and grime. This step is straightforward but crucial for achieving the best results.
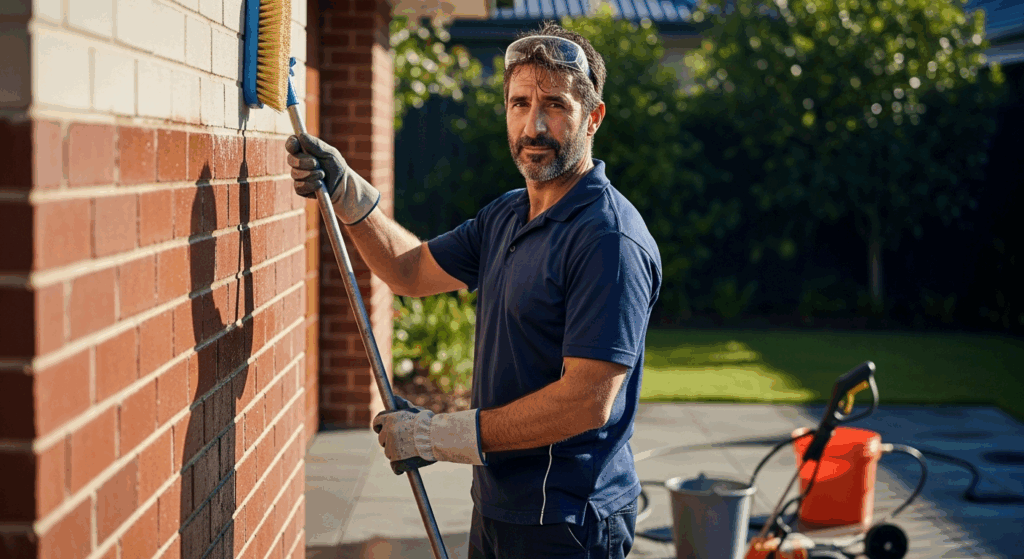
Pre-cleaning the brickwork
Begin by using a dry, stiff brush to vigorously scrub the affected area. The goal is to remove any loose surface elements such as dirt, dust, cobwebs, and flaky patches of mold. This initial dry-scrubbing clears the way for your cleaning solution to penetrate the porous brick and reach the mold’s root system, making the treatment far more effective.
Choosing the right DIY cleaning solution
You can create a simple and effective cleaning solution using common household items. It is important to avoid using chlorine bleach. While many believe bleach is an effective mold killer, experts warn against its use on porous surfaces like brick. According to remediation professionals, bleach can make the problem worse by allowing the mold’s roots to grow deeper into the material as the water component of the bleach soaks in. Instead, opt for one of these safer and more effective alternatives.
| Cleaning Solution | Mixture Ratio | Pros | Cons |
| White Vinegar | 1 part white vinegar, 1 part water | Highly effective, affordable, kills mold roots. | Strong odour that dissipates when dry. |
| Baking Soda | 1 tbsp baking soda, 16 oz water | Mild, deodorizing, helps lift stains. | May be less effective on stubborn mold. |
Step 4: Apply the solution and scrub effectively
This is the active cleaning phase where your preparation pays off. A methodical approach to applying the solution and scrubbing the brick will ensure you thoroughly address the mold infestation. Take your time during this step and work in manageable sections to ensure complete coverage and effective removal.
Application and dwell time
Using your chosen solution in a spray bottle, thoroughly saturate the affected brick area. Recent cleaning trends and numerous reports have shown that allowing a vinegar solution to sit for at least one hour is crucial for it to penetrate the porous surface and kill the mold at its roots. Do not let the solution dry out during this dwell time; reapply if necessary to keep the area damp.
While these steps are straightforward, technique matters. For homeowners seeking a more in-depth guide and expert advice, the team at Batchelder & Collins, a leading brick and masonry supplier in the Hampton Roads area, has it down to a fine science. It offers a reliable, step-by-step guide on removing mold on brick, detailing everything from identifying moisture sources to choosing commercial-grade products for tougher jobs. Consulting their guide can provide the extra confidence needed to ensure your cleaning project is both safe and successful.
The proper scrubbing technique
After allowing the solution to sit, it is time to scrub. Use your stiff, non-metallic brush and work in a firm, circular motion across the entire mold-affected surface. This agitation helps lift the dead mold from the brick’s pores. It is vital to avoid using a wire brush, as it can shed tiny metal particles that will embed in the brick and mortar, eventually rusting and causing unsightly orange and brown stains that are very difficult to remove.
Step 5: Rinse, inspect, and prevent regrowth
The final step in the cleaning process involves rinsing away the solution and loosened mold, followed by a careful inspection. Just as important, however, are the long-term strategies you implement to prevent the mold from returning. Proactive maintenance is the best defense against future growth.
Rinsing and final inspection
Thoroughly rinse the entire area using a garden hose with a spray nozzle, starting from the top and working your way down to prevent dirty water from streaking clean sections. It is critical to avoid using a high-pressure washer for this task. The intense force can easily damage older mortar joints and force water deep into the brick, inadvertently creating a brand-new moisture problem. Once the wall is completely dry, inspect it carefully. If any mold or staining remains, repeat the application and scrubbing process on those specific spots.
Strategies for preventing future mold
Long-term prevention is centered on moisture control. Regularly maintain clear gutters and downspouts to ensure proper water flow. Grade the soil around your foundation so that it slopes away from the house, preventing water from pooling against the brickwork. Additionally, trim back any dense shrubs or tree branches that are close to the house to improve airflow and allow sunlight to reach the brick. For an added layer of protection, consider applying a quality penetrating, breathable sealer. As home improvement experts note, such sealers can protect brick from moisture absorption without trapping existing water vapor inside.
Knowing when to call a professional for mold on brick
While a DIY approach is effective for smaller patches of mold, it is important to recognize when a problem exceeds the scope of a home project. For extensive or persistent infestations, professional remediation is necessary to ensure the safety of your home and family. Professionals are equipped with specialized tools and knowledge to handle large-scale problems safely and effectively.
Signs your mold problem requires an expert
Contact a certified mold remediation specialist if you encounter any of the following situations: the mold covers an area larger than 10 square feet, it returns quickly after cleaning, or you suspect toxic black mold is present. Furthermore, if any member of your household has a respiratory condition like asthma, professional removal is the safest option. While professional services can cost between $10 and $25 per square foot, it is a necessary investment for large-scale issues. Experts also use advanced tools like thermal imaging cameras to find hidden moisture sources that a homeowner might easily miss. This is critical if you suspect mold growth could be affecting your home’s interior, where unseen moisture can cause significant damage—a situation that, much like prepping for interior painting, requires meticulous attention to detail before work begins.
A cleaner facade and a healthier home
Removing mold from your home’s exterior brick is a manageable task when you approach it methodically. The key takeaways are to always address the root moisture problem first, use the proper safety precautions, and apply a proven, non-bleach cleaning method. By following these steps, you not only restore your home’s curb appeal but also protect its structural integrity and create a healthier living environment for your family.
Ultimately, proactive maintenance is the best defense against future mold growth. Now that you are equipped with this knowledge, take a walk around your property this weekend. A quick inspection of your gutters and downspouts is the first and most important step toward a mold-free home.