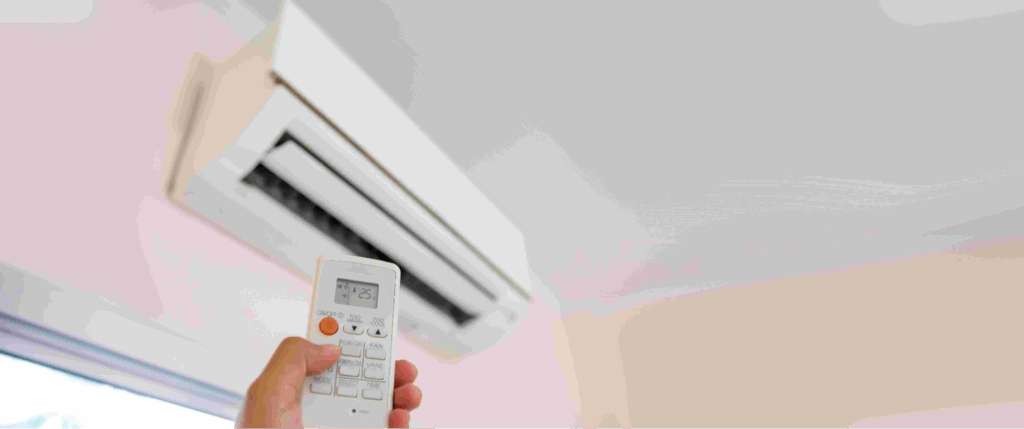
Installing an air conditioner isn’t just about plugging in a unit and hoping for the best. A proper setup ensures efficiency, longevity, and peak performance. Whether you’re a do-it-yourself (DIY) enthusiast or hiring a pro, these tips will help you get it right the first time. Read on.
Choose the Right Aircon Unit for Your Space
Before anything else, pick the right air conditioner for your room. An undersized central air conditioning unit, outdoor unit, and so on will struggle to cool, while an oversized one will waste energy and cause humidity issues.
First, consider room factors like high ceilings, sunlight exposure, and heat-generating appliances (like ovens or computers) that may require more cooling power. Next, think of energy efficiency. Look for units with high energy efficiency ratings to save on bills.
Picking the right unit may be easy but the succeeding steps involved with air conditioner unit installation can be difficult. If you want to save yourself from hassles and ensure quality installation for your central air system, you can work with local professionals.
Pick the Ideal Location for Installation
Where you place your air conditioner affects its performance. Follow these guidelines:
- Avoid direct sunlight. Installing your unit in a shaded spot prevents the unit from overheating.
- Ensure proper airflow. Keep a respectable clearance around the unit for ventilation.
- Stay away from heat sources. Don’t place your air conditioning unit near appliances that emit heat like refrigerators, lamps, and so on.
- If installing a window unit, ensure the frame is sturdy enough to hold it securely.
A smart location maximizes cooling and minimizes strain on the system.
Prepare the Installation Area Properly
A little prep work goes a long way in avoiding future headaches.
First, clean the space; remove dust, debris, and obstructions where the unit will sit. After that, check the electrical requirements. Ensure your outlet matches the aircon’s voltage.
Next, seal any gaps (this is applicable to window air conditioners). Use weather stripping or foam insulation to prevent warm air from leaking in.
Proper prep ensures a secure, energy-efficient installation.
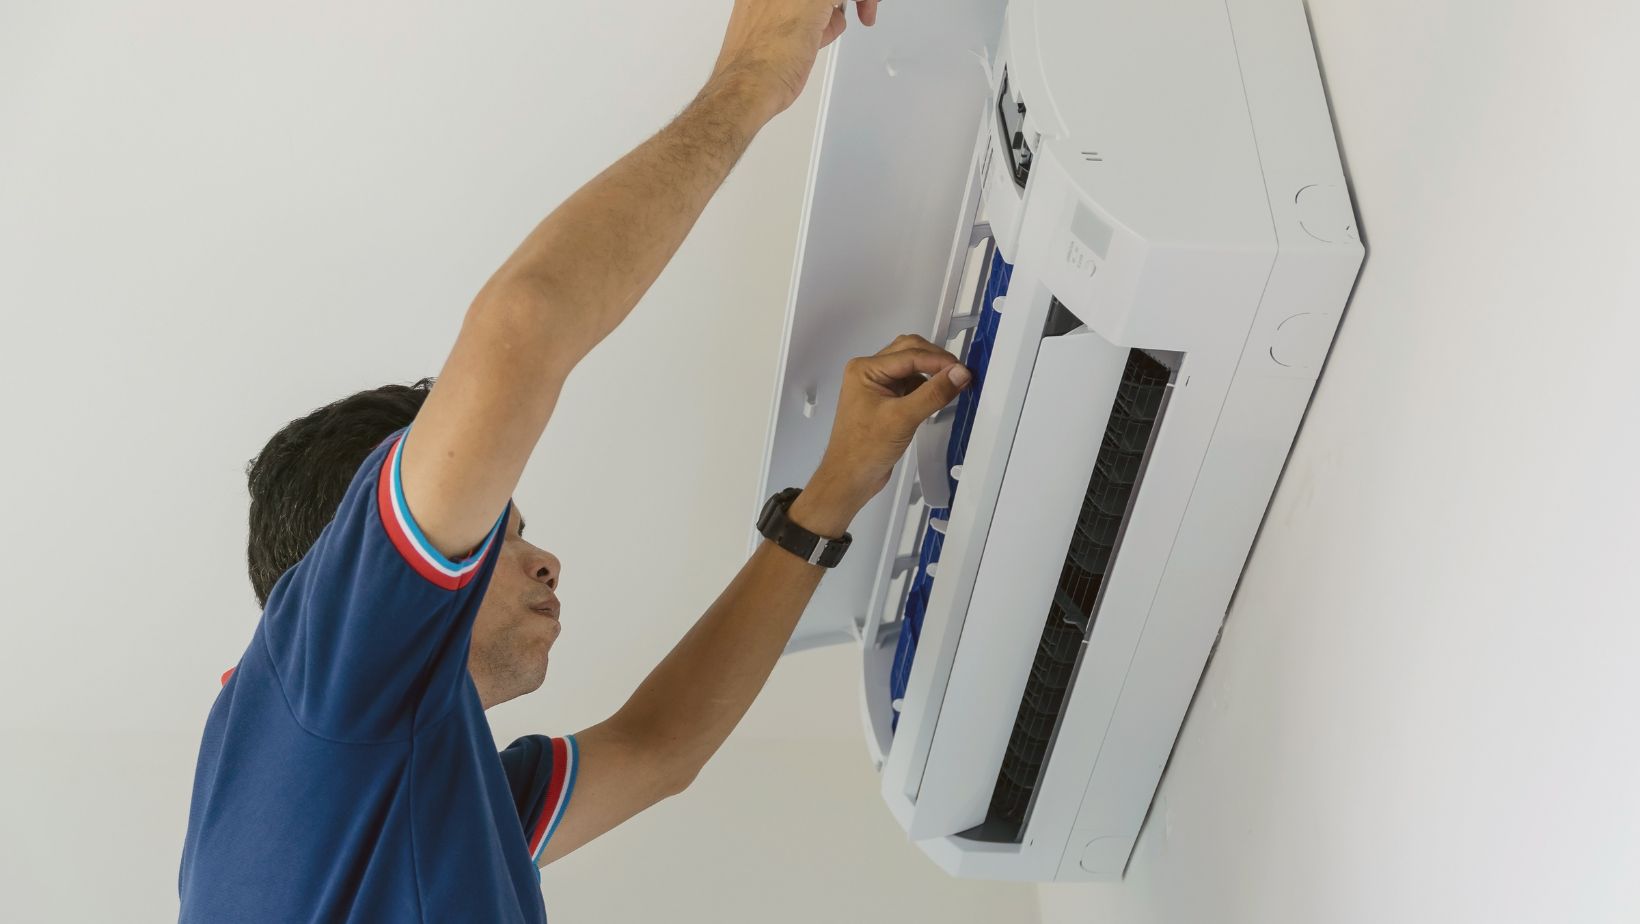
Install the Mounting Brackets Securely
If you’re setting up a wall-mounted or window unit, sturdy brackets are a must.
Remember to use a level to ensure the brackets are perfectly horizontal to avoid water drainage issues. For larger and heavier aircon units, consider additional support beams for added support. Follow manufacturer guidelines. Why? Each model has specific weight limits and mounting instructions.
Remember: a shaky installation can lead to leaks, noise, or even a falling unit—so take your time here.
Connect the Drainage System Correctly
At-home air conditioners produce condensation, and improper drainage leads to leaks and water damage.
For proper drainage, keep in mind the following tips:
- Slope the drain hose slightly downward to ensure smooth water flow.
- Use a drain pan (this is applicable for split units). This prevents water from dripping inside walls.
- Check for clogs. Test the drain line by pouring water through it to confirm it flows freely.
A well-set drainage system keeps your walls dry and mold-free.
Seal all Gaps and Insulate Properly
Even small gaps let cool air escape and warm air in, forcing your unit to work harder. When sealing gaps, make sure to use foam tape or silicone-based sealant around available spaces of window air conditioners. On the other hand, insulate refrigerant lines (for split systems) to prevent energy loss and improve efficiency.
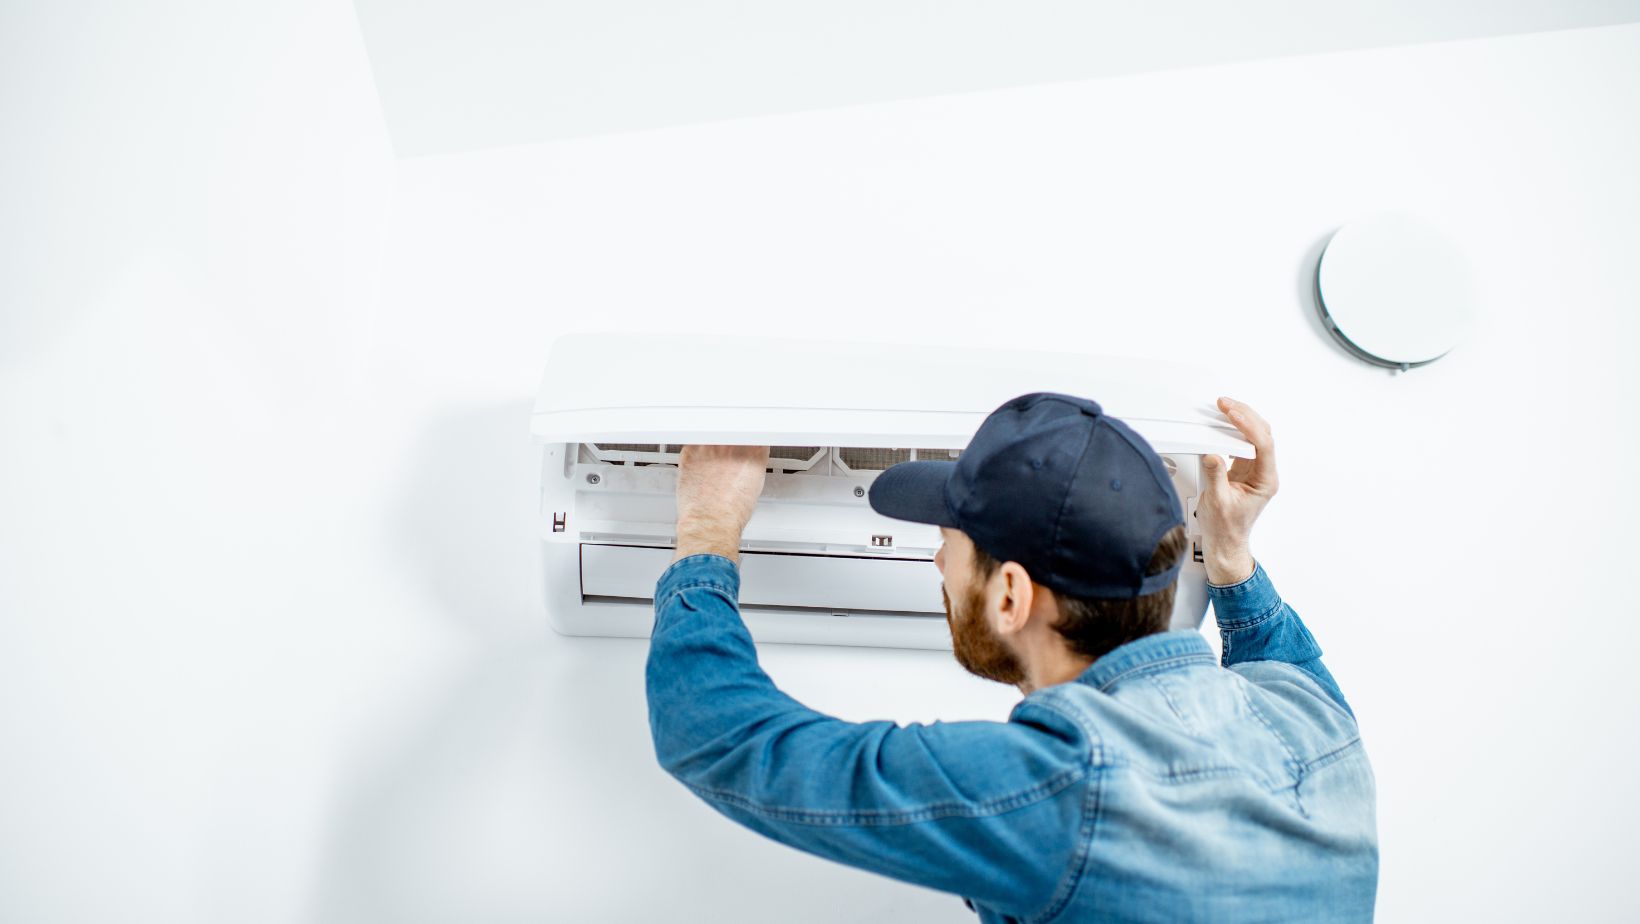
Test the Unit Thoroughly Before Finalizing
Never assume everything’s perfect—test the system right after installation.
- Check for unusual noises; rattling or grinding sounds may indicate loose parts.
- Monitor cooling performance. The room should feel comfortable within a few minutes.
- Look for possible leaks. Inspect drainage and refrigerant lines for any moisture.
A quick test helps catch issues early, saving you from costly repairs later.
Schedule Professional Maintenance Annually
Even if you install the aircon yourself, regular professional check-ups keep it running smoothly.
To begin, you need to clean your filters monthly or as needed. Why? Clogged filters reduce airflow and efficiency. Next, inspect refrigerant levels regularly. Low levels make the system work harder. Finally, check for and address any loose wires or faulty capacitors to avoid any breakdowns.
Routine maintenance extends your aircon’s lifespan and keeps energy bills low.
Follow Safety Precautions at All Times
Aircon installation involves electrical work and heavy lifting—remember: your safety comes first.
Bare in mind the safety air conditioner installation tips below:
- Turn off the power supply before wiring to avoid any electrocution risks.
- Use the proper tools for installation. A drill, level, and insulated gloves are basics.
- Get help for heavy units. Don’t risk injury lifting bulky air conditioners alone.
A safe installation prevents accidents and ensures long-term reliability.
Know When to Call a Professional
Some tasks are best left to experts. Call a technician if you’re unsure about electrical connections. The unit requires complex ductwork or refrigerant handling. Don’t hesitate to work with an aircon professional if you notice persistent issues like weak airflow or strange smells as well.
Professional help ensures compliance with local codes and manufacturer warranties.
Final Thoughts: A Well-Installed Aircon Saves Money and Stress
A proper aircon installation isn’t just about staying cool—it’s about efficiency, durability, and peace of mind. By choosing the right unit, positioning it correctly, and ensuring airtight installation, you’ll enjoy optimal performance for years.
Follow the abovementioned tips, and your air conditioner will reward you with reliable, energy-efficient cooling. Stay cool!