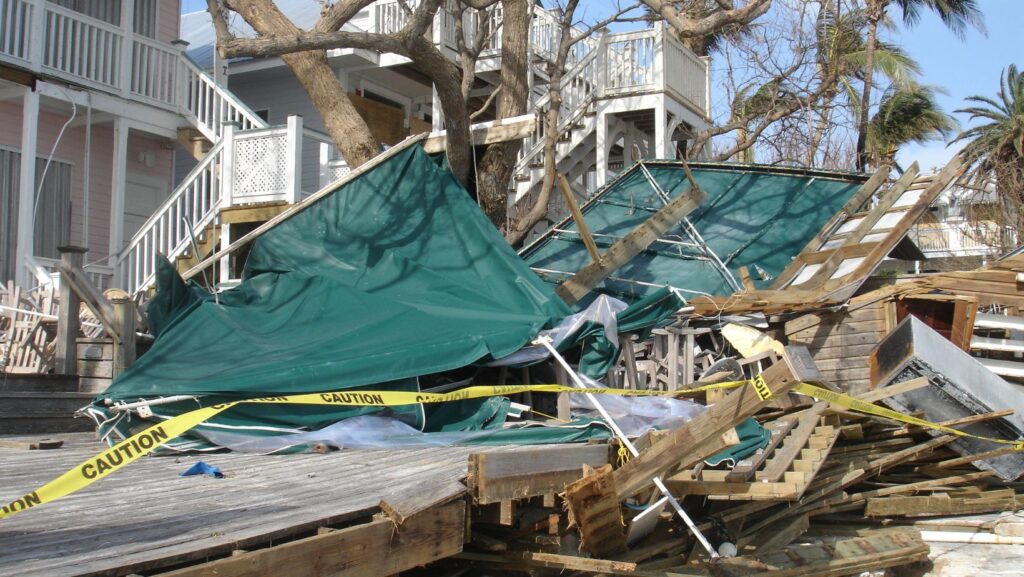
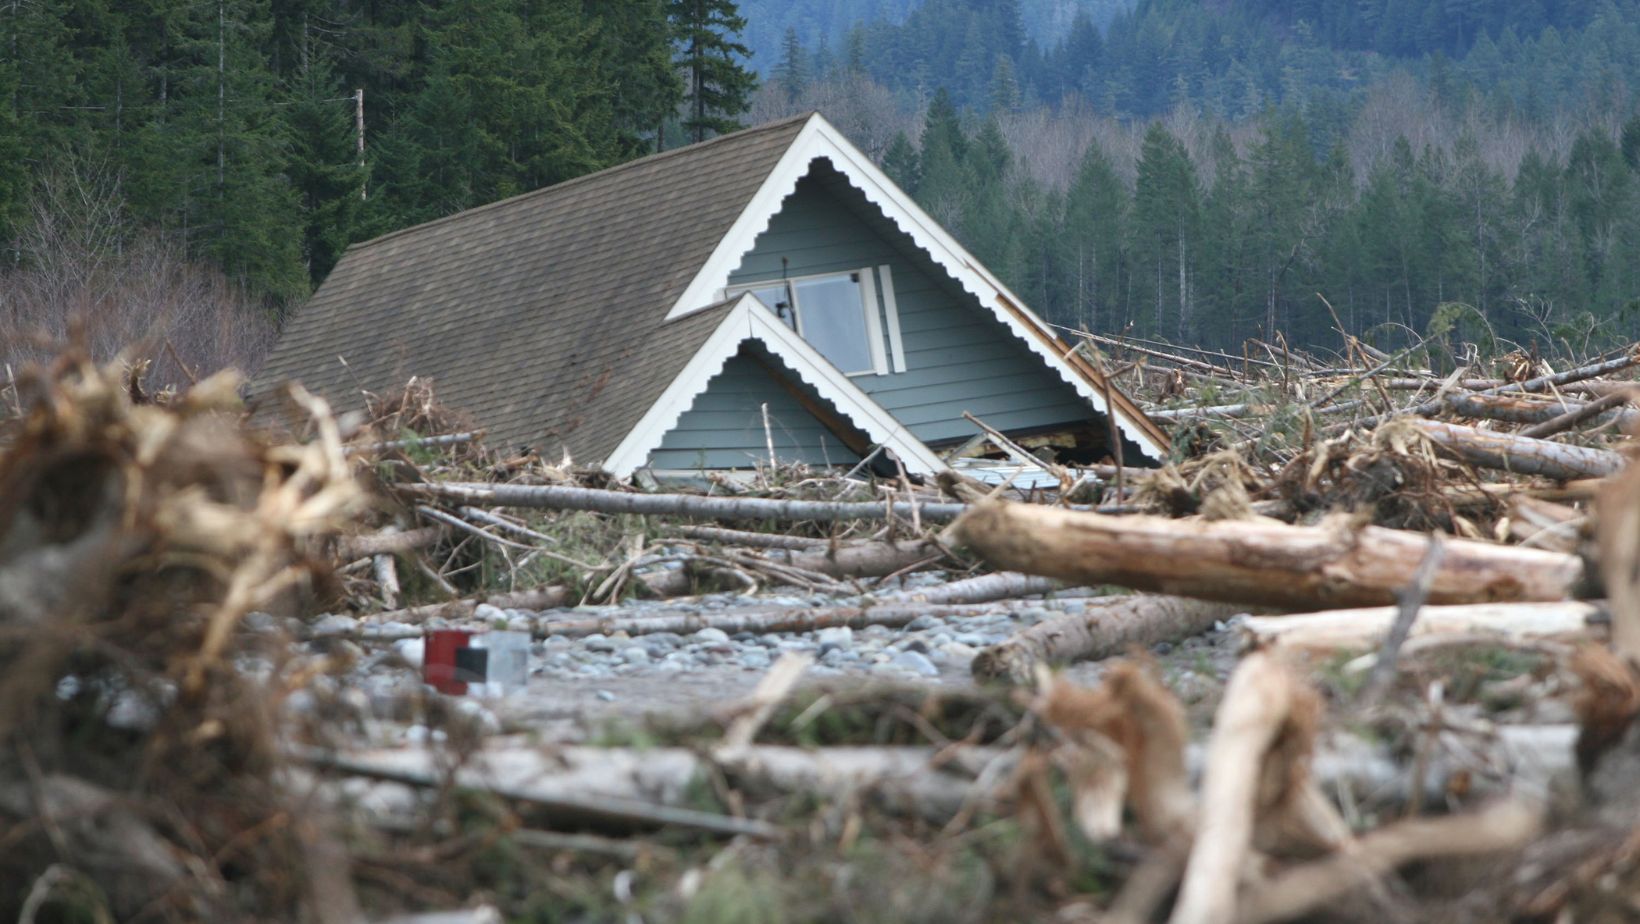
Severe storms can send trees, utility poles, and other debris flying through your walls and windows. These damages lead to costly repairs and potentially dangerous living situations for your entire family. Even if the damage isn’t immediately visible, high winds and flooding can weaken a home’s structural integrity and cause serious problems in the future.
Handling the aftermath is crucial to recouping losses and future-proofing the home. It is undoubtedly a stressful period for any homeowner, but taking immediate action will make the process much smoother. A fast response time prevents minor problems from escalating and can expedite the insurance claims process.
Step 1: Ensure Safety First
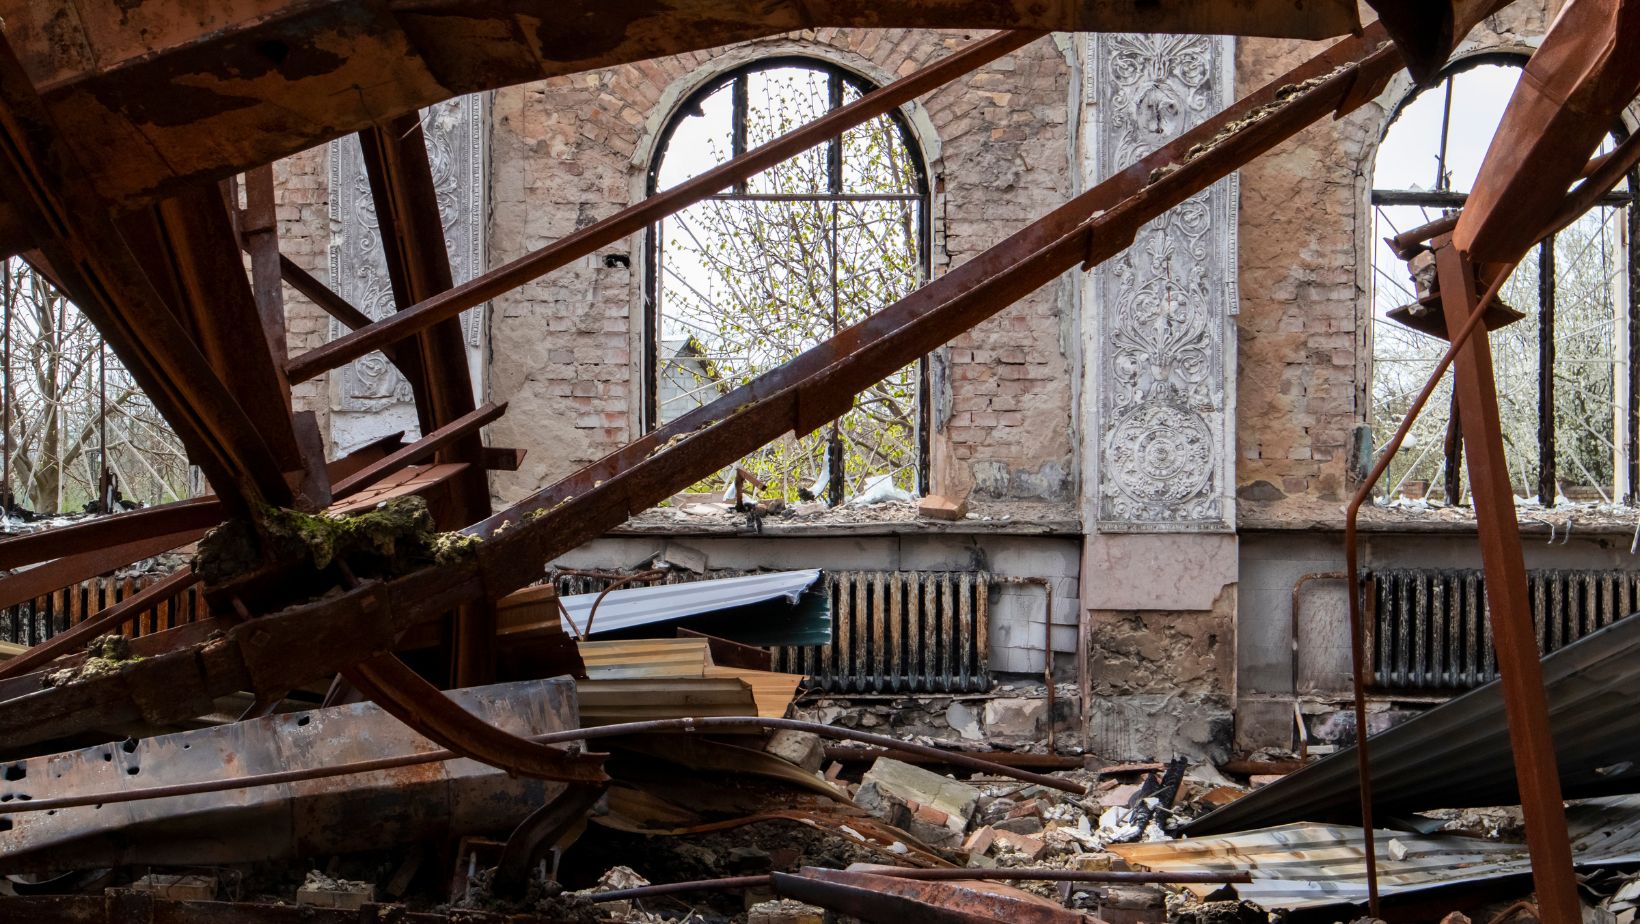
Prematurely entering a compromised home exposes you to collapses and falling debris. Start by checking for immediate dangers surrounding the home. Not everything is immediately apparent, and many dangers aren’t directly connected to your house but affect the entire neighborhood.
Checking the Surroundings for Danger
For example, downed power lines create an electrocution risk, particularly in the wet conditions following a storm. The surrounding area should be vacated, and you must call local utility companies to address the problem.
While rare, some storms may uproot trees or posts that disrupt your natural gas lines and create a leak. Slow leaks are sometimes not recognizable by smell when masked by rain.
Another less thought-about danger is displaced wildlife. Extreme weather events can drive animals out of nearby habitats, forcing them to hide in (or under) human dwellings. California wildfires sometimes cause homeowners to discover bears on their property after returning.
Verifying Structural Integrity
If the storm was severe enough that you were forced to evacuate, you should check the exterior walls and foundation before going inside. Flooding can damage or shift a house’s foundation and introduce the risk of collapse.
Even minor cracks leading toward the foundation are a cause for concern. Inspect areas where different material types join together, such as where wood meets concrete. Gaps or overlaps in these places may mean that the walls shifted or became unstable.
Accessing Emergency Services
The Red Cross manages shelters for emergencies. Through the Red Cross, evacuees can access first aid, meals, emotional support, and emergency supplies. However, these services are not always available in every city.
Step 2: Assess and Document the Damage
Whether you trust your insurance inspector or not, you must know the condition of your home. You may disagree with the assessment results or believe they missed something. In these situations, performing a personal walkthrough and taking photo evidence can save a lot of time and a lot of money.
Exterior Assessment
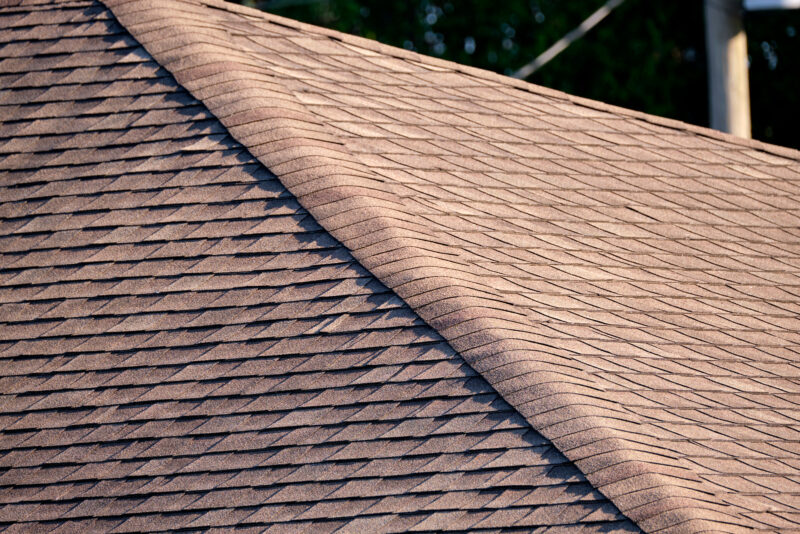
Start with a perimeter check. Flying debris can break windows, crack shutters, and knock down gutters. Your roof is the most likely victim of a storm and can be examined from the ground. Look for missing, damaged, or displaced roofing material (shingles, tiles, metal paneling, etc.).
Pay extra attention to the flashing, the material around roof penetrations that keep water out of your home. Minor damage to the flashing can cause leaks.
Remember that some landscaping and add-ons may be insured under your plan. Dwelling coverage may include things like fences, patios, detached garages, and pools. Don’t neglect these aspects because you’re preoccupied with the main building.
Interior Assessment
Inside, look for signs of water intrusion, such as sagging wallpaper or discoloration on surfaces. If the foundation has shifted, some walls may even lean at different angles. Don’t rely on a quick walkthrough since these signs can be as small as a few bubbles.
Sometimes, leaks might not visibly affect the surface but still damage inner structures. In these cases, you should note any musty smells, which can indicate moist materials in your walls.
Check for signs of broken plumbing in showers, faucets, and toilets. Test each of these appliances for clogs and look for escaping water around them. You can confirm interior leaks by turning off all the water sources in your home and checking your water meter for movement.
If there is reason to believe that the house is too unsafe to enter, then you can call a professional inspection service first. There are government inspectors associated with the Federal Emergency Management Agency (FEMA) may help homeowners assess their homes at no charge.
Documenting Damages
Substantial photo documentation can be the difference between getting repairs and living with a mold smell for the rest of your life. Take clear photos from multiple angles and distances. One of the biggest problems in homeowner’s insurance photos is that they don’t provide
For example, it is hard to tell the size of a stain from a zoomed-in photo. Insurers might assume it is the size of a tennis ball when it’s more like a full mattress. All photos should show the damage in a larger context. This means photographing the whole wall or placing an object in frame so the insurer can compare the size.
Remember also to create a detailed list of damaged belongings. This list should include brief descriptions and replacement costs, which means how much it would cost to repurchase the exact item as new. If possible, collect receipts and warranties that could help evaluate your belongings and property, including renovations.
For homeowners with significant assets or multiple properties, consulting with an estate planning lawyer after a disaster can help ensure these holdings are properly protected and accounted for in your long-term financial and legal planning.
Step 3: Prevent Further Damage
Things can still go wrong after the storm is over. Taking precautionary steps can improve a home’s livability and prevent further damage.
Temporary Repairs
Homeowners can temporarily patch broken windows with durable garbage bags and duct tape. Ensure that the bags cover the window frame edge-to-edge, using duct tape to hold it in place and seal gaps.
Punctured roofing can also be covered with nailed down tarp or waterproof sheets. Make sure to secure the covering under the roofing material directly above the damaged section. This prevents water from draining down the roof and getting underneath a gap in the repair.
Dry Out Your House
Standing water inside the home quickly leads to mold growth and weakening structures. Use towels to soak up small puddles and a wet vacuum or buckets for larger pools. If none of these are available, you can try using a broom to guide the water out.
Next, open windows and turn on fans and dehumidifiers. Point the fans at a window to speed up the process. These tools bolster air circulation and remove water vapor, making it harder for mold spores to grow.
Remove Debris
Secure loose debris in your home and yard to lower fall risks. If a tree has fallen into your home, it is best not to try and move it right away. Moving the tree may cause other parts of the house to collapse on you in the process. Additionally, if winds are still strong, hard or pointy objects like branches and shingles could become dangerous projectiles.
Step 4: Contact Your Insurance Company
Home insurance policies are often lenient on how long you have to submit a claim. Most home policies allow claims to be made for up to a year after the loss. There may also be unique procedures for severe disasters like hurricanes.
However, it is always better to contact your insurance company as soon as possible to begin the claims process. It will make your case a priority, which is especially important if the insurer receives an influx of claims.
Before you call, study your insurance policy to know what’s covered. Learn to know your policy number, address, and the policyholder’s name and phone number. Write down topics you are unsure about, such as if you are entitled to Additional Living Expenses (ALE) for temporary housing or how much contents insurance you have.
The agent will ask you many questions about the home’s condition and the storm. Write down your responses. This helps you clarify things in the future if the situation changes or you are mistaken about an event.
Having your insurance policy and itemized list of damages close by will make it easier to answer the agent’s questions. Claimants can typically submit photos, videos, and receipts online. Many of the largest providers have mobile applications that allow file submissions.
Lastly, ask for your agent’s extension number and follow up consistently. States set mandatory deadlines for insurance companies to settle claims. Call your agent frequently to stay in the loop about what stage of the process your claim is in.
Step 5: Hire Professionals for Repairs
Your insurance company will send an adjuster to assess the damage and determine a settlement amount. This money can be used to pay professionals for repairs, including more dangerous or skill-intensive tasks like roof repair.
Many insurance companies maintain lists of trustworthy and licensed contractors. You are not required to use one of these recommendations to receive the settlement.
If you want to shop around, you must thoroughly research the competition. Collect multiple written estimates. Many times, it is free to get someone from their team to provide an in-person inspection.
Ask for their expected timelines and how payment will be made throughout the process. Most contracts are paid out according to project milestones or finished progress. Also, ask about their building methods and what they can do to protect your home better in the future. These questions will show the contractor’s thought process and dedication to each project.
Most importantly, check the contractor’s licenses and insurance. They must have a certificate of insurance, protecting the homeowner from worker injury on your property. They should also be licensed through the state’s official licensing and regulation department.
Storm Chaser Fraud
Storm chasers are scam artists who follow dangerous weather phenomena and take advantage of the victims. They fraudulently approach people claiming to be professional contractors and perform superficial repairs before hurrying off to the next disaster zone.
Avoiding storm chasers is quickly done by avoiding up-front payments and researching their claims. These scammers often name-drop contracting companies outside your state and cannot provide any documentation proving their skills.
Step 6: Check for Financial Assistance
If you need additional help or your insurance won’t cover repairs, there are government aid programs and potential tax breaks available.
Federal Emergency Management Agency (FEMA)
FEMA offers relief grants for repairs, temporary housing, and other disaster-related expenses. FEMA primarily provides relief aid to victims of specific disasters. The application process starts by verifying your property’s location. Applicants outside “disaster areas” are lower priority but may still qualify for aid.
You will be asked for basic information about your home, what was lost, and the reasons for seeking relief. Afterward, you must create an account to save your application, which will allow you to check its progress at will.
Lastly, you should collect proof that you attempted to work through your insurance company before contacting FEMA. They may be able to persuade your insurance company to help more rather than providing a grant.
Disaster Tax Breaks
Most states offer tax breaks on disaster-affected properties. These operate differently depending on the state but typically require some percentage of the home’s value to be lost as a direct result of a specified disaster.
The state’s governor will declare a disaster area and provide a deadline for homeowners to claim the exemption. For example, Texas requires the property to be “at least 15 percent damaged by a disaster,” and homeowners have 105 days after the declaration to respond.
Community Aid Efforts
Many community groups and charities organize aid programs when disaster strikes. Some businesses and local groups open shelters, collect funds or provide supplies to those affected. Disaster groups are easily found and highly active on social media during crises.
Step 7: Prepare for Future Storms
Preparing before the storm strikes can significantly reduce its potential damages. Homeowners can reinforce windows, doors, and roofs to make them more resistant to strong winds and flying debris. There are also minor housekeeping chores that can significantly reduce the chances of flooding.
Securing Windows and Doors
Specially made window panes and doors are reinforced with steel and aluminum. They resist high winds and impact from flying debris. Doors can be further protected by adding a deadbolt lock mechanism and ensuring they are secured to the frame with at least three hinges.
Shutters also add another barrier of protection to windows and contribute to the design elements of your home. However, weak shutters will likely deteriorate more quickly in a heavy storm and will need frequent replacement. Homes in areas with frequent storms should consider investing in hurricane shutters instead.
Strapping Down the Roof
Hurricane ties strengthen the bond between your roof truss and the connecting wall beams. They are easy to install and required in many areas of the US.
It is also recommended that you inspect your attic for stains or water damage. These areas are the most likely places where water will break through first. Falling branches can also puncture these weaknesses more easily.
Cleaning Gutters and Maintaining the Yard
Clearing foliage and debris out of gutters and downspouts enables drainage and protects your foundation. The same principle applies to your yard. Try to elevate some areas so that water drains away from your foundation.
Loose yard elements like decorations or potted plants should be removed prior to a storm. These will fly around and damage your or a neighbor’s property. Also, ensure that trees are regularly pruned and aren’t hanging over your house. Dead branches break off easily in harsh storms and present one of the most significant risks to your home.
Prepare an Emergency Kit
A good emergency kit will include all of the following items:
● Food & Water
● First Aid Kit
● Flashlights
● Portable Chargers (and cables)
● Copies of ID
● Whistle
● Rain gear
A family evacuation plan must include mapped routes to the nearest shelters and a list of emergency contacts. All family members should understand the plan and know what to do if they are home alone.
Quick action and a premeditated plan can greatly reduce the stress of a major storm. Homeowners must thoroughly document the damage and contact their insurance companies in a timely manner.
However, if insurance fails, you still have options. Government aid is available through FEMA, and many states offer tax breaks to disaster victims. Proper use of these resources may be a lifeline in a dire time.