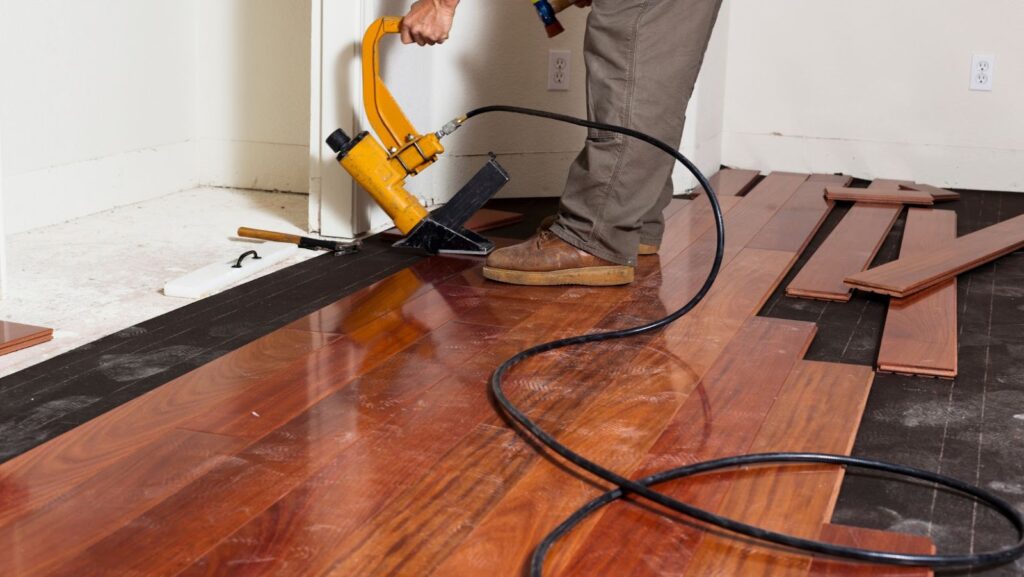
Removing hardwood floors may seem like a daunting task, but with the right tools and some elbow grease, it can be surprisingly easy! Here’s what you’ll need to do. Start by removing any baseboards or trim around the perimeter of the room. Use a hammer or screwdriver to pry the nails out of the floor. Carefully lift them up and out of the room, being careful not to damage the underlying subfloor. Then, you can install your new hardwood floors!
Remove all the furniture from the room
You’ll need to have clear access to the entire floor in order to remove it. Remove all the furniture from the room. This will make it easier to move around and work. If possible, try to stack the furniture in one corner of the room so you have more space to work.
How to remove hardwood floor
- Start by removing any shoe molding or baseboards around the perimeter of the room. Use a pry bar to gently remove them, being careful not to damage the walls.
- Next, use a power drill to remove any nails or screws holding down the floorboards.
- Once all the nails and screws are removed, you can start pulling up the floorboards. Start from one end of the room and work your way towards the other.
- Once all the floorboards are removed, sweep up any dirt or debris before moving on to installing the new floors.
Cut through the nails connecting the hardwood floor to the subfloor with a reciprocating saw
If you can’t remove the nails by hand, use a reciprocating saw to cut through them. Be careful not to damage the subfloor as you cut. Once the nails are cut, you can start prying up the floorboards from one end of the room. Work your way across the room, prying up each floorboard as you go.
Pry up the old hardwood flooring and remove it from the room
Use a crowbar or pry bar to gently lift the boards from the subfloor. Start at one end of the room and work your way across, prying up each board as you go. If any of the boards are particularly stubborn, try using a hammer to gently tap them loose. Once all the boards are removed, dispose of them according to your local waste regulations. With the old flooring out of the way, you’re now ready to install your new hardwood floors!
Sand down any rough patches on the subfloor and install new baseboards and door trim
Sand down any rough patches on the subfloor with a belt sander. If there are any major repairs that need to be made, now is the time to do them. Install new baseboards and door trim around the room. Make sure the trim is level with the floor and secure it in place with nails or screws. With the trim in place, your new hardwood floors are now ready to be installed!
Install new hardwood flooring using adhesive and nails or screws
Start by installing the first row of flooring along one wall. Apply adhesive to the subfloor and align the boards with the edge of the wall. Use a hammer or power drill to drive nails or screws through the boards and into the subfloor. Continue installing the rest of the flooring, working your way across the room. Make sure each row is level with the previous one before nailing or screwing it into place. Once all the flooring is installed, sweep up any debris and enjoy your newly updated space!


