2025 Full Interior Painting Guide
Interior painting can completely change how a room feels. A fresh colour brightens the space, shifts the mood, and gives your home a clean, updated look. But before paint touches a wall, the room needs proper preparation. The best interior painting projects begin long before the brush is dipped into the can.
Preparation shapes the outcome. It influences how smooth the finish looks, how evenly the colour settles, how effectively the paint adheres, and how long the new surface will last. Over the years of helping homeowners with interior painting projects, we’ve noticed one consistent pattern: the rooms that turn out the best are always the rooms that were prepared with intention.
This complete guide walks you through every step of preparing your home for interior painting – covering wall inspection, furniture protection, airflow, colour testing, and simple adjustments that make the entire process easier.
Interior Painting Preparation Checklist
Before opening a paint can, make sure the essentials are complete:
- The room is cleared or furniture centred and protected.
- Floors and surfaces are covered securely.
- Wall décor and hardware are removed.
- Imperfections are repaired, sanded, and primed.
- Walls are cleaned and completely dry.
- Airflow and ventilation are established.
- Children and pets have safe alternative spaces.
- Paint colours have been tested under various lighting conditions.
Once these steps are complete, your room is fully ready for interior painting.
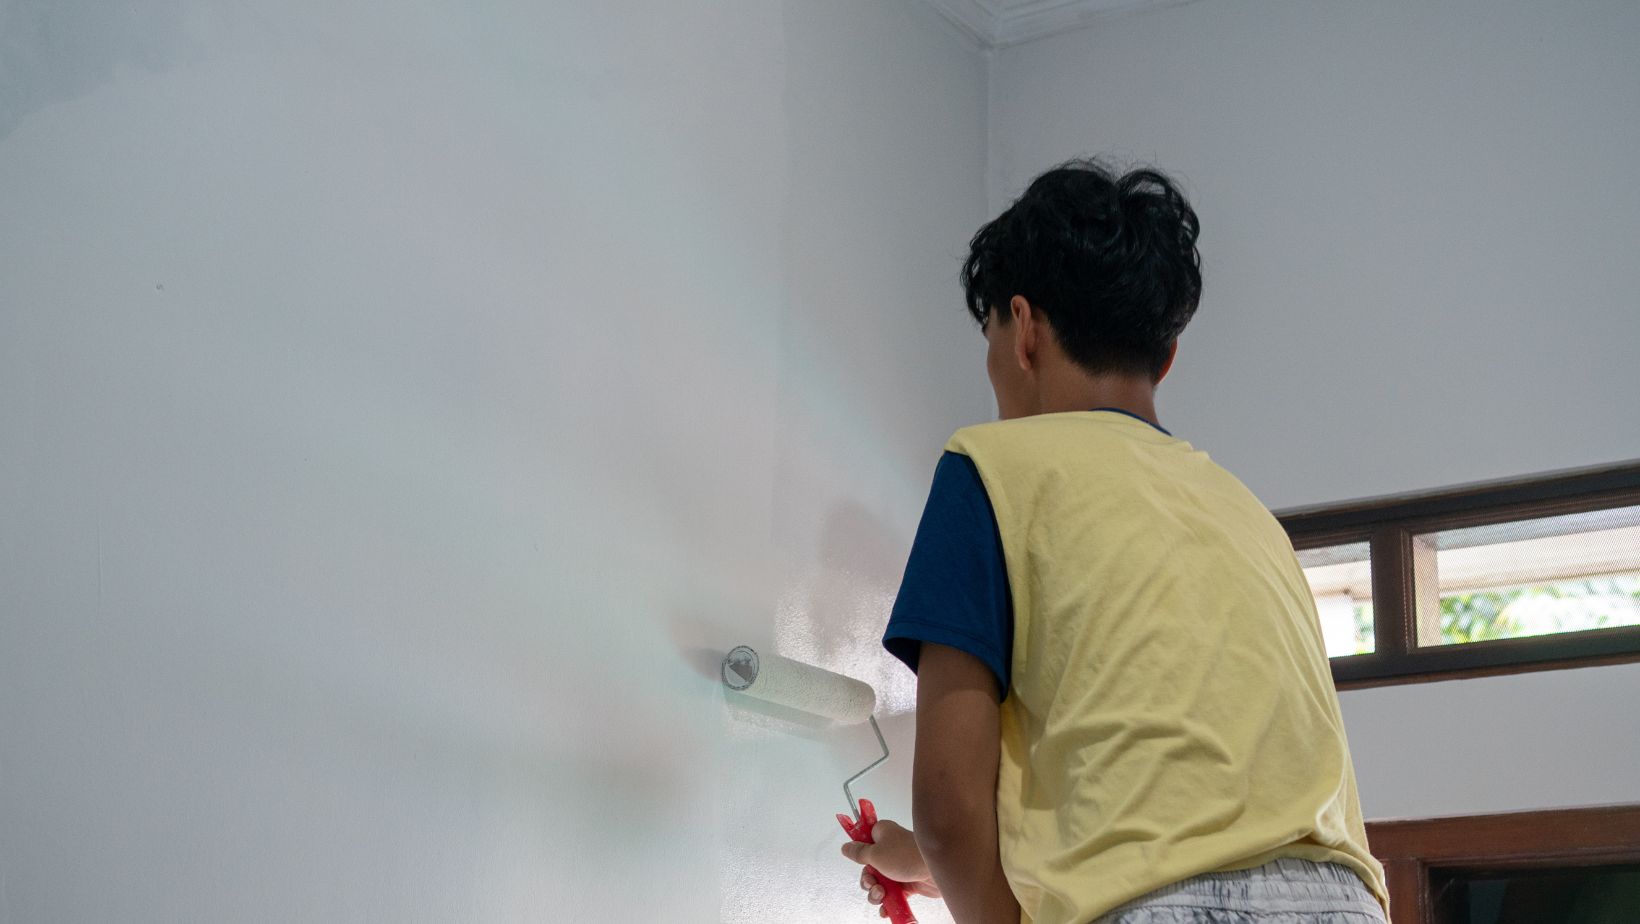
1. Make Space Before You Begin Interior Painting
Interior painting requires space. Without room to move, it becomes harder to reach corners, cut in edges cleanly, or run a roller across the wall without bumping into something.
Start by removing items you can take out of the room entirely. Beds, shelves, desks, or dressers are easier to move early. A clear workspace reduces frustration and prevents accidental splatter on valuable belongings.
If certain pieces must stay, slide them toward the centre and create an open walkway around the room. This helps you, or your painter, access trims, baseboards, crown moulding, and ceiling lines.
Moving items out also improves safety. A decluttered room lets you focus on painting rather than avoiding obstacles, tangled cords, or tools stacked in narrow pathways.
Pro Tip: Label drawers, bins, or boxes as you relocate items. When you return everything to the room after painting, you’ll save time and avoid guesswork.
2. Protect Furniture, Floors, and Surfaces
The next stage is protection. Even in a cleared room, some pieces will remain, and all floors need protection from paint splatter, sanding dust, and drops of primer.
Helpful protection materials:
- Canvas drop cloths: Durable and ideal for absorbing paint.
- Plastic sheeting: Best for covering furniture or appliances.
- Floor-protection paper: Ideal for hardwood, laminate, or vinyl.
- Painter’s tape: For clean edges around trims, vents, and outlets.
- Fabric sheets: Fast coverage for lighter items.
Secure coverings firmly with tape. Loose sheets slide easily, especially when ladders are involved. Protect hallways and stairs too, these areas often collect dust and debris as tools and foot traffic move through the home.
If the room connects to other frequently used areas, consider adding a temporary barrier to limit dust from spreading.
3. Remove Wall Décor and Hardware Early
Wall décor can hide small imperfections you may not notice until the painting begins. Removing items early gives you a better look at what needs attention.
Remove items such as:
- Frames and artwork
- Mirrors
- Shelves
- Hooks and small wall hangers
- Curtain rods
- Outlet and switch covers
Once the walls are bare, inspect them carefully. You may see nail holes, dents, uneven textures, or scuffs that weren’t visible before.
Store screws, anchors, and brackets in small, labeled containers. This avoids a common issue where hardware goes missing or mismatched after painting. Removing décor early also lets you reconsider where everything will go once the fresh colour is on the walls.
4. Inspect the Walls Carefully
Interior painting always looks better on a smooth, consistent surface. Fresh paint tends to emphasize flaws such as peeling areas, hairline cracks, fading patches, or raised seams.
Walk around the room during daylight and look at the walls from different angles. Natural light reveals imperfections more clearly than artificial light.
Check for:
- Rough or uneven patches
- Cracks or nail pops
- Bubbles in old paint
- Peeling corners
- Water stains or discoloration
- Drywall tape lifting or cracking
Taking your time here ensures you catch issues that could affect paint adhesion and overall appearance.
5. Repair and Prime Where Needed
Once imperfections are identified, repair them before painting.
Here’s a reliable approach used by professionals:
- Sand raised or rough areas
Smooth bumps, peeling sections, and inconsistent texture. - Fill holes and cracks
Apply patching compound, then allow it to dry fully. - Feather repaired areas
Blend edges so patches don’t show through the top coat. - Prime stained or dark areas
A primer coat prevents bleed-through and promotes even colour. - Apply a skim coat when needed
Useful for heavily textured walls or older repairs.
Primer is especially helpful when painting over glossy paint, darker shades, or surfaces with mixed sheen levels. A good primer improves paint adhesion and helps achieve a clean, uniform finish.
6. Clean Walls, Trim, and Baseboards
Even walls that appear clean may contain dust, oils, or residue that interfere with paint adhesion. A proper cleaning routine ensures the new paint bonds as it should.
Recommended cleaning method:
- Use warm water with mild dish soap.
- Wipe walls with a soft microfiber cloth.
- Degrease kitchen walls or areas near cooking spaces.
- Clean trims and corners using a dry cloth or small brush.
Focus on high-touch zones such as light switches, stairway walls, or spots behind furniture. These areas often collect more buildup and can cause uneven finishes if not cleaned properly.
Allow all surfaces to dry fully before painting.
7. Ensure Proper Airflow and Drying Conditions
Airflow helps paint dry evenly and prevents trapping moisture. Open windows if possible, or use a fan on a low setting for gentle circulation.
Avoid strong drafts, they stir up dust and can cause paint to dry too quickly, leading to patchy areas or visible roller marks.
Maintain a comfortable temperature. Excessive heat, cold, or humidity affects curing time and sheen consistency. Rooms with stable airflow and moderate humidity deliver the best results.
8. Adjust Home Routines During Interior Painting
Interior painting temporarily disrupts your home’s routine, but planning ahead helps reduce stress.
For families with children:
- Move toys or school materials to another room.
- Set up a small temporary play area.
- Keep daily essentials within reach.
For households with pets:
- Use baby gates or keep doors closed.
- Prepare a quiet room away from paint fumes.
- Keep supplies and tools safely out of reach.
These simple adjustments prevent accidents and help your household function smoothly throughout the project.
9. Test Paint Colours in Real Lighting
Paint looks different throughout the day. Sunlight, shadows, artificial lights, and lamp warmth all influence how a colour reads on the wall.
Test sample patches:
- Near natural light
- In shadowed areas
- Beside trims and window frames
- Behind major furniture pieces
Observe samples in the morning, afternoon, and evening. This helps you see how the colour shifts with changing light and ensures you choose a shade that stays true at every hour.
If you need inspiration, browse completed transformations in this interior painting gallery, where you can see how colours behave under different conditions.
10. Confirm Project Details With Your Interior Painters
Whether you’re painting the room yourself or working with a professional, confirming details ahead of time prevents delays and miscommunication.
Discuss or plan out:
- Trim and ceiling work
- Areas requiring repair
- Number of coats
- Paint sheen and finish
- Ventilation plans
- Tools and supply setup
- How long the room will be unavailable
For DIY projects, think through the sequence of cutting-in edges, rolling, drying time between coats, and when the room can be used again. Clarity helps everything run smoothly.
Why Smart Preparation Matters in Interior Painting
Thoughtful preparation influences every part of the painting process. Smooth walls create a refined finish. Clean surfaces improve adhesion.
Protected floors save hours of cleanup. Predictable airflow supports even drying and helps avoid streaks, bubbles, or peeling.
Skipping prep might save time upfront, but it usually leads to flaws that are difficult, or expensive, to correct later. A few extra steps before interior painting dramatically improve how your room looks once the colour dries.
The Final Step: Preparing for a Successful Interior Painting Project
Interior painting is one of the most transformative improvements you can make inside your home, but preparation is what brings out the best results. Clearing space, protecting surfaces, repairing imperfections, ensuring airflow, testing colours, and adjusting daily routines all contribute to a polished, long-lasting finish.
When you take the time to prepare thoughtfully, interior painting becomes easier, cleaner, and far more rewarding. The colour applies smoothly, the lines look crisp, and your space feels refreshed exactly as you imagined.
If you prefer a seamless, professionally handled experience, skilled interior painters near you can manage the prep and finishing work for you, ensuring exceptional results from start to finish.