Winterizing a sprinkler system is an essential task to protect your irrigation system from the harsh winter months and prevent costly repairs. This process involves draining the system and removing any water from the pipes to avoid freezing and damage. Whether using manual, automatic, or blow-out methods, taking the time to winterize ensures that your sprinkler system remains in good condition.
Understanding Your Sprinkler System
To winterize your sprinkler system effectively, it’s crucial to understand the different types of systems and their components. Knowing how your system is structured will help you efficiently prepare it for winter.
Types of Sprinkler Systems
Sprinkler systems come in various types, primarily categorized as automatic and manual systems. Automatic systems are controlled by a timer or a programmable control unit, making them convenient and reliable for consistent watering schedules. These systems often integrate weather sensors to adjust watering based on climatic conditions.
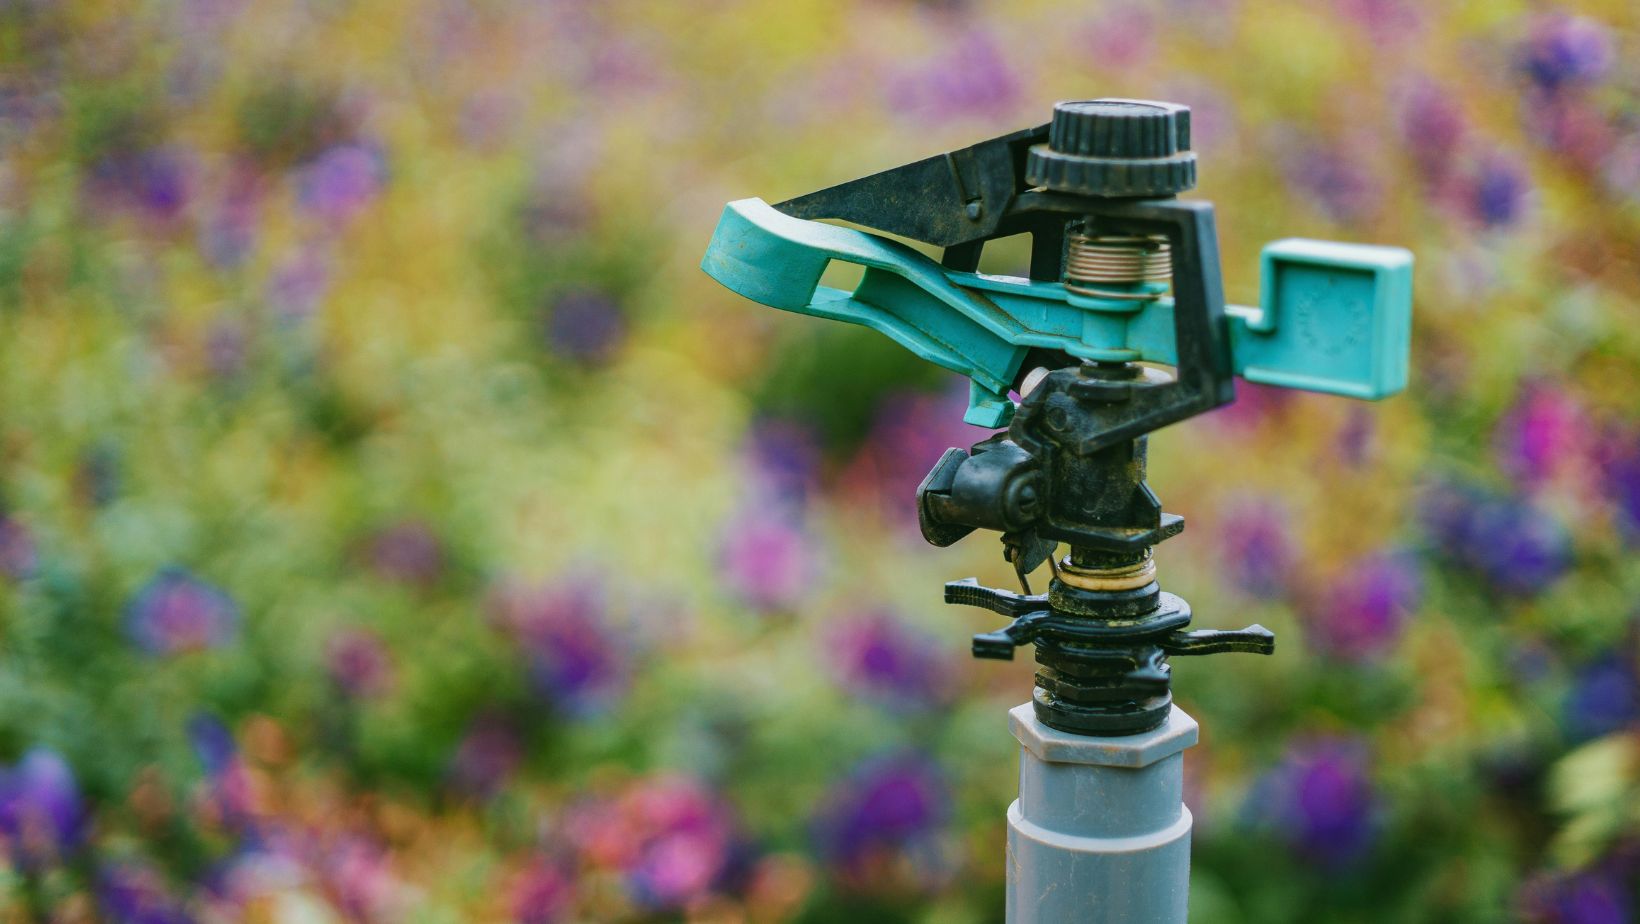
On the other hand, manual systems require the user to turn the water on and off by hand. While less expensive, they demand more attention and effort to ensure the lawn or garden gets adequate water. Another distinction lies in the sprinkler heads, which can be either rotary or fixed spray. Rotary heads are ideal for larger areas, while fixed spray heads are best for smaller, targeted zones.
Components and Layout
A comprehensive sprinkler system includes several key components:
- Water source and main valve: Supplies and controls the water flow.
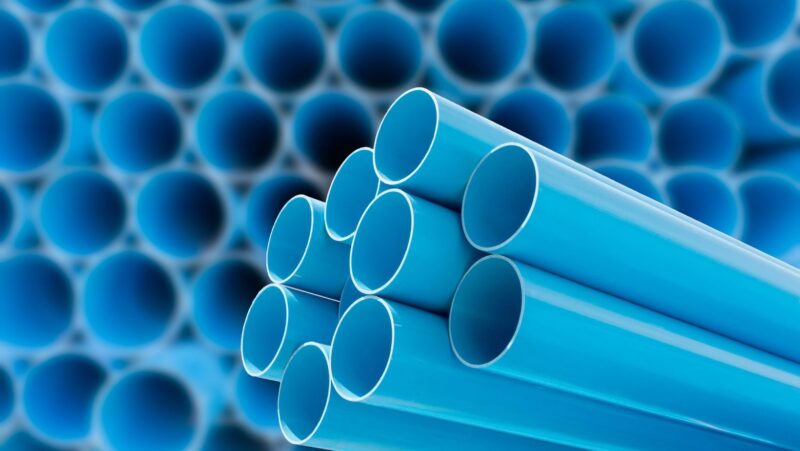
- Pipes: Distribute water to different areas.
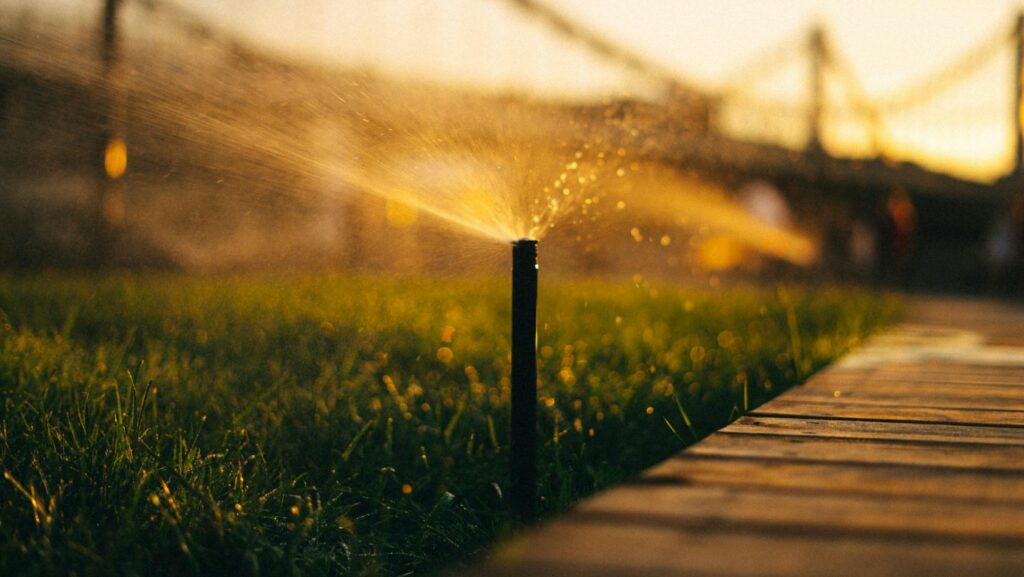
- Sprinkler heads: Disperse water over the lawn or garden.
- Backflow prevention device: Prevents contamination of the water supply.
- Control valves: Regulate water distribution to various zones.
The layout typically starts with the main water line, branching out to various zones each controlled by its valve. Sprinkler heads are strategically placed to ensure even coverage. Understanding this layout helps in pinpointing issues and efficiently maintaining the system, especially during winterization when ensuring all components are properly drained and protected from freezing is critical.
Knowing these details allows for more precise and effective maintenance, reducing the risk of damage and extending the life of your sprinkler system.
Preparing for Winterization
Preparing to winterize your sprinkler system involves understanding the ideal timing for the process, gathering the necessary tools and equipment, and following essential safety precautions. Ensuring these steps are carefully followed can help protect your irrigation system from winter damage.
Timing and Weather Considerations
Determining the right time to winterize is critical. Typically, this should be done before the first hard freeze of the season. This varies by location, but early- to mid-fall is usually ideal. Monitoring weather forecasts can help pinpoint the best time to start. When night temperatures consistently drop below freezing, it’s time to act. Failing to winterize at the correct time can lead to damaged pipes and costly repairs.
Tools and Equipment Needed
Proper tools are crucial for a successful winterization. Essential items include:
- Air Compressor: Ensures thorough water removal from the lines.
- Coupler: Connects the air compressor to the irrigation system.
- Wrenches or Pliers: For turning valves and making connections.
- Safety Glasses and Gloves: Protect yourself from debris and accidents.
Having these tools on hand before beginning the process can save time and prevent issues. Make sure the air compressor is powerful enough to completely clear the water from your sprinkler lines.
Safety Precautions
Safety should be a top priority during winterization. Always wear safety glasses to protect your eyes, and use gloves to prevent hand injuries. Be cautious when handling the air compressor, as compressed air can be hazardous. Avoid blowing compressed air directly through the backflow device, as this can cause damage.
Open the appropriate valves slowly to avoid sudden pressure changes that can cause equipment failure. If unsure about any part of the process, consider consulting with a professional to avoid accidents or system damage.
The Winterization Process
Winterizing a sprinkler system involves several essential steps to prevent costly damage and ensure the system remains functional. These include shutting off the water supply, draining the system, employing the blow-out method, and insulating above-ground components.
Shutting Off the Water Supply
The first step in winterizing a sprinkler system is to shut off the water supply. Locate the main valve that supplies water to the sprinkler system, typically found near the water meter. Closing this valve prevents water from entering the system during the winter months. It’s crucial to avoid confusing this with smaller local valves under faucets, which only control individual water lines.
Ensuring the main valve is fully closed helps protect the system from freezing temperatures, which can cause pipes to burst. After shutting off the valve, you should also check for any additional shut-off points within the system. A sprinkler repair company can assist if you’re unsure about valve locations.
Draining the System
Draining the sprinkler system is essential to eliminate any remaining water that could freeze and cause damage. Depending on the type of system, there are various methods:
- Manual Draining: This involves opening drain valves at the low points in the sprinkler lines to let water flow out.
- Automatic Draining: Some systems have auto-drain valves that activate when the pressure drops.
- Blow-out Method: Compressing air to force water out, which requires an air compressor.
Knowing the specific draining method suitable for your system ensures thorough water removal and minimizes the risk of freezing.
Blow-out Method Details
The blow-out method is a popular technique for removing water from a sprinkler system. Begin by shutting off the water supply and connecting an air compressor to the system using a coupler. Start with the sprinkler station farthest from the air compressor and turn it on. This facilitates effective water removal.
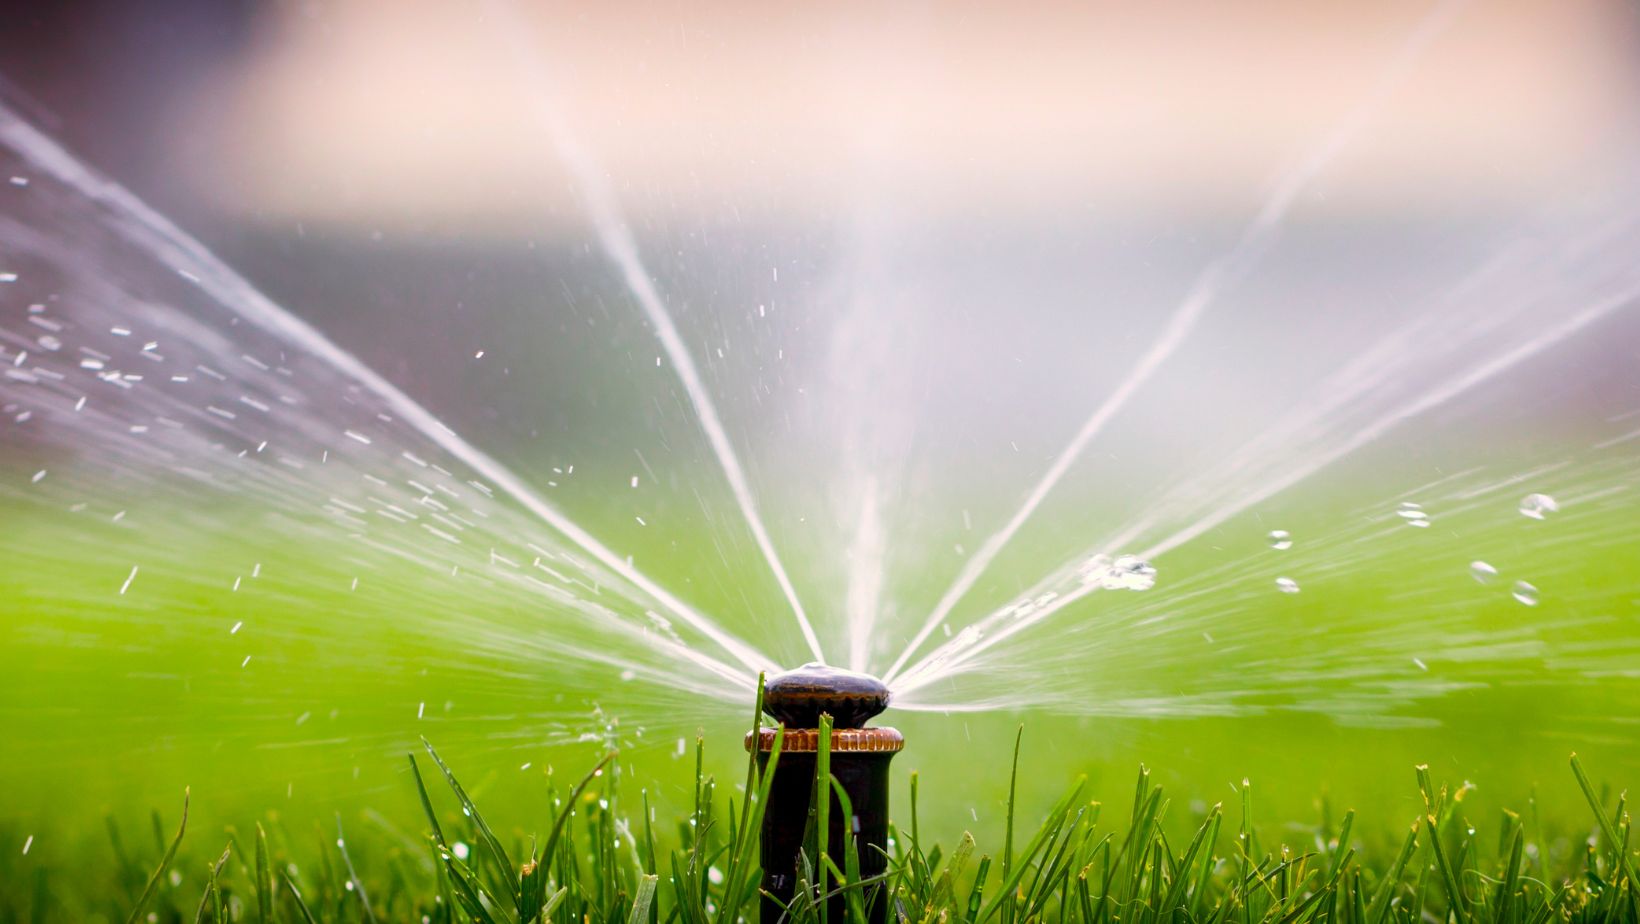
Slowly open the compressor valve to avoid damaging the sprinkler heads, which might melt from overheating. Allow the stations to run until they spit out all water, then proceed to the next station.
Insulating Above-Ground Components
Insulating above-ground components is vital for preventing freezing. Focus on exposed pipes, backflow preventers, and valves. Use insulation tape or foam pipe covers to wrap these components securely. This action helps maintain a stable temperature around the pipes.
Additionally, installing a protective cover over the backflow preventer adds an extra layer of defense. This prevents exposure to harsh winter conditions, reducing the risk of damage. If insulation seems challenging, contacting a sprinkler repair company can ensure professional handling.
Each of these steps ensures your sprinkler system remains undamaged through the winter months, ready to resume normal operation in the spring.


