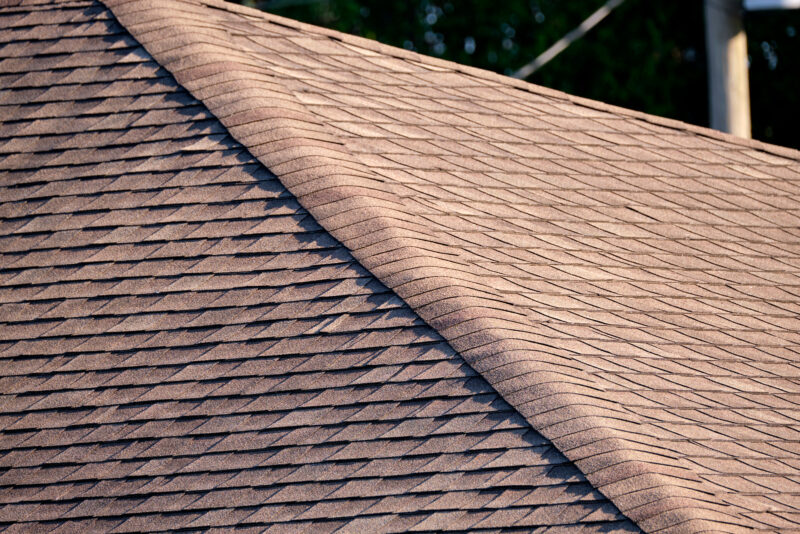
There are numerous reasons homeowners love polycarbonate roofing. It has become a popular choice for its durability, light transmission, and resistance to harsh weather conditions. Adequate installation is vital for achieving these benefits and ensuring long-term performance.
Installing polycarbonate roofing is not gambling with big bonuses and free spins in MGA casinos or Las Vegas resorts. It is not guesswork. In fact, it requires a careful approach. Not focusing on proper techniques will lead to harmful consequences. Let us tell you how to get the installation of polycarbonate roofing adequately.
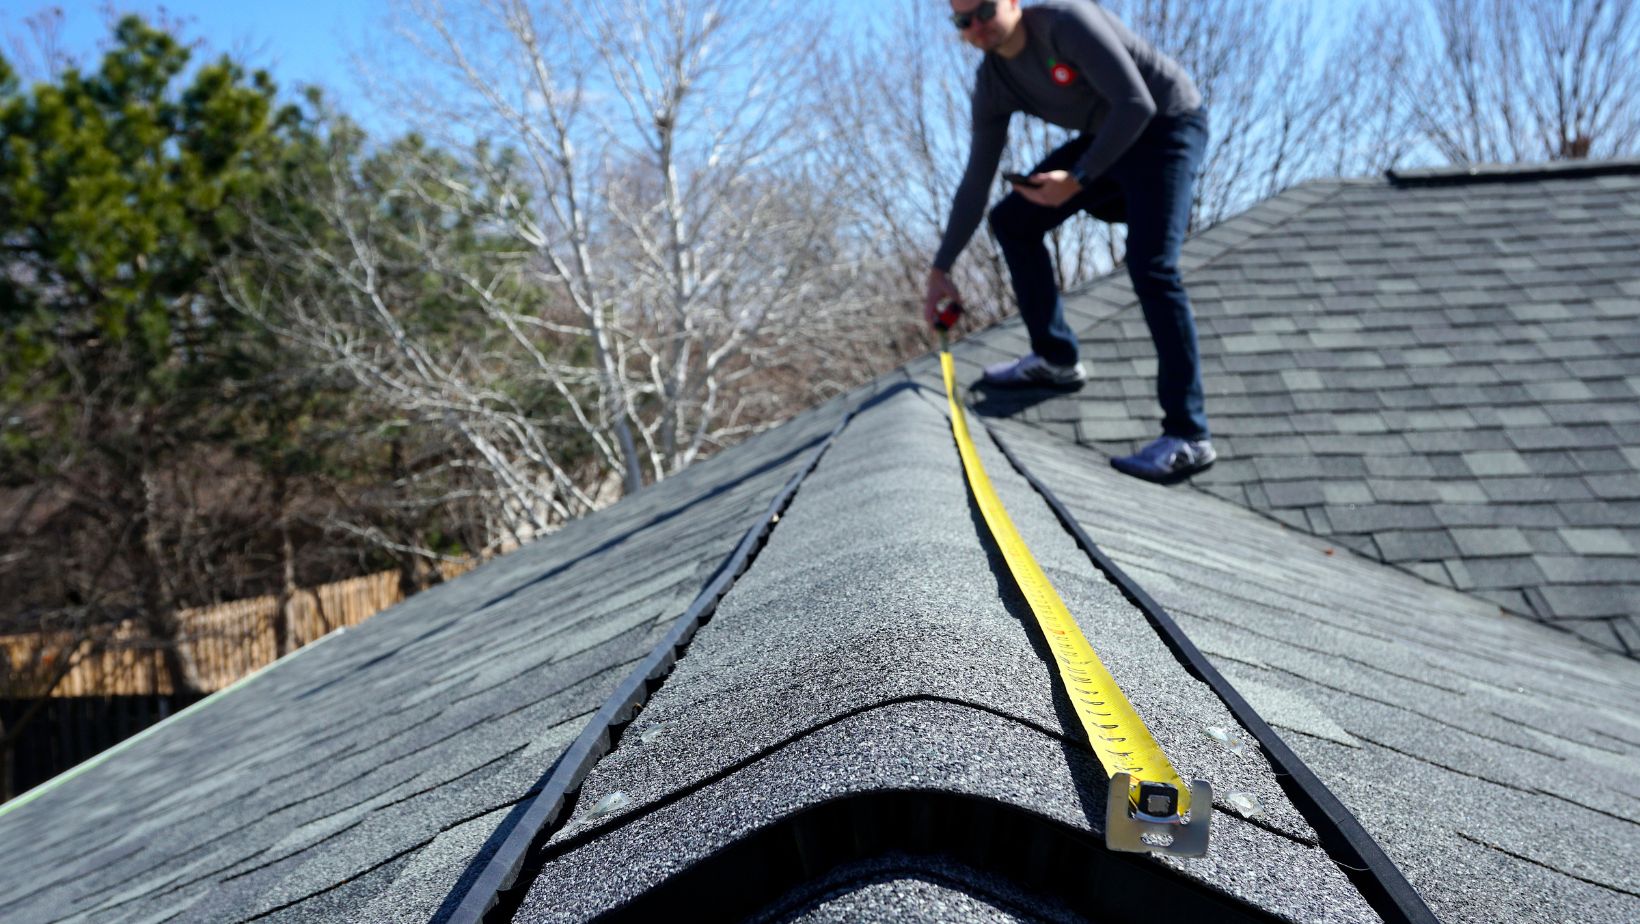
Step 1: Go through the Roof Pitch Requirements
The roof pitch is essential for proper water drainage and structural integrity. Most manufacturers recommend a minimum slope of 5 degrees (88mm rise per meter) to prevent water pooling. For regions with heavy rainfall, a steeper pitch of 10% (5.7 degrees) improves runoff efficiency.
If the slope is insufficient, additional sealing at overlaps becomes necessary to prevent leaks. Always verify local building codes, as some areas may mandate specific pitch standards based on climate conditions. The next step is preparing the roof framework.
Step 2: Prepare the Roof Framework
A reliable framework is the foundation of a successful installation. Use treated timber or corrosion-resistant metal purlins spaced according to the polycarbonate profile and thickness.
For corrugated sheets, maintain purlin intervals of 800mm to 1,200mm, while multiwall sheets require closer spacing, which is 450mm for 6mm sheets up to 1,250mm for 25mm panels.
Moreover, install Noise Stop Tape along purlins to minimize creaking caused by thermal expansion. At the eaves, attach Eave Infill Strips to block dust, wind, and rainwater from entering the substructure. Find an experienced roofing contractor if DIY is not an option.
Step 3: Hand and Cut Polycarbonate Sheets
Polycarbonate sheets arrive with protective films labeled to indicate the UV-resistant side. Keep this film intact during handling and cutting to avoid scratches. Use a circular saw with a carbide-tipped blade for straight cuts, supporting the sheet to prevent vibrations.
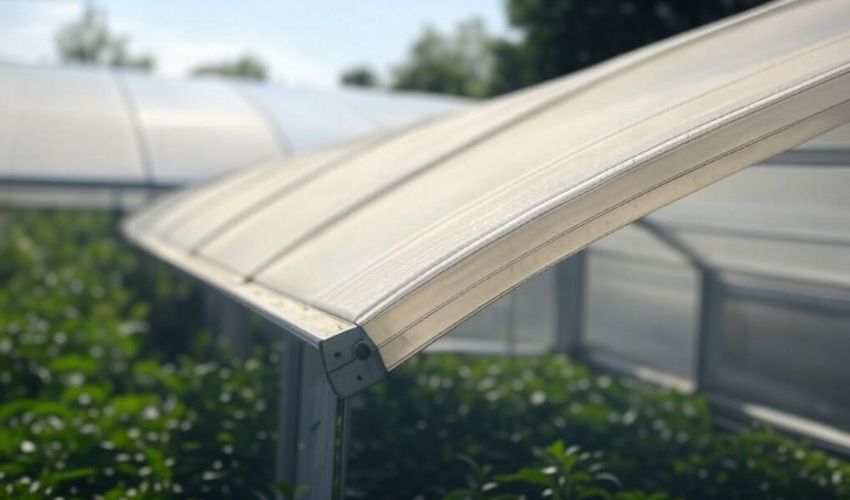
For curved designs, note that thicker sheets (6mm+) have a minimum bending radius, but exceeding this can cause cracks. After cutting, peel back 100mm of the protective film from the edges to prepare for sealing.
Step 4: The Installation Process
Begin installation on the side opposite prevailing winds to reduce weather exposure during the process. Align the first sheet with a 50mm overhang into the gutter and secure it using self-drilling screws with neoprene washers.
Next, drive screws through the sheet crests rather than valleys to prevent water ingress. For corrugated profiles, fasten every second or third crest depending on wind conditions. Remember, high-wind areas require tighter spacing.
Overlap subsequent sheets by 150–200mm, ensuring ribs align with the roof slope for consistent drainage. At ridges and eaves, use compatible flashings or barge cappings sealed with neutral-cure silicone to accommodate movement without cracking.
Avoid overtightening fasteners; compress the washer until snug, but allow a 5mm gap at sheet edges for thermal expansion. Remember, if you don’t have experience, don’t carry out the installation process. Instead, choose a home remodeling company with roofing expertise to streamline the installation process.
Ventilation and Condensation Management
Proper ventilation prevents heat buildup and condensation, which can degrade insulation and promote mold. Install ridge vents or soffit gaps to create airflow channels, particularly in enclosed structures like conservatories.
For multiwall sheets, apply breathable tape at the lower edges and waterproof tape at the upper ends to balance moisture escape and block debris. In humid climates, consider adding dehumidifiers or anti-condensation coatings to high-risk areas.
Finishing and Weatherproofing
Complete the installation by attaching U-shaped end caps to seal hollow channels against insects and dirt. Inspect all seams and penetrations, applying silicone sealant around screw heads and flashing joints.
For apex roofs, secure ridge cappings with corrosion-resistant screws and check that overlaps face downward to shed rainwater. Finally, remove the remaining protective film once all adjustments are complete to reveal the UV-protected surface.
Maintenance Ideal Practices
While polycarbonate requires minimal upkeep, periodic inspections extend its lifespan. Clean sheets biannually using a soft cloth and mild soap. Therefore, avoid abrasive cleaners or high-pressure washers that could scratch the surface.
Check seals and fasteners annually, replacing cracked washers or loose screws promptly. In snowy regions, use a roof rake with a non-metallic edge to prevent ice dam formation without damaging the sheets.
Common Installation Mistakes to Avoid
One frequent error is neglecting thermal expansion gaps, leading to warped sheets or popped fasteners during temperature swings. Similarly, installing panels too tightly against flashings restricts natural movement, causing stress fractures.
Using incompatible sealants like PVC or acetic silicone can chemically react with polycarbonate, resulting in yellowing or brittleness over time. Always opt for neutral-cure silicones and EPDM gaskets designed for plastic roofing systems.
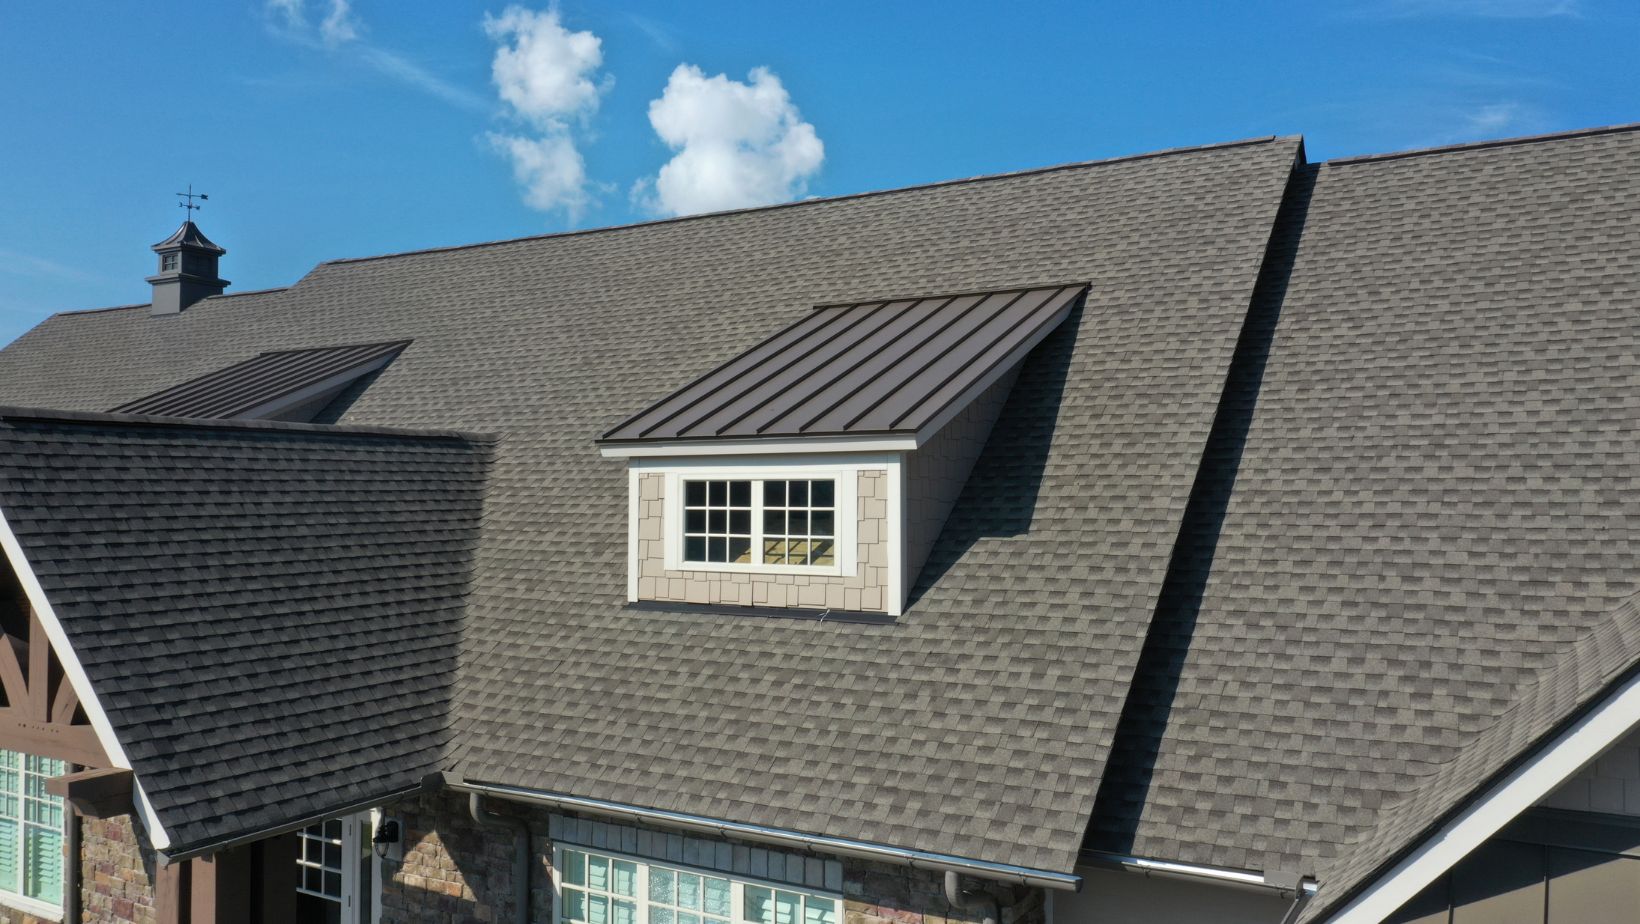
Final Words
Adhere to these guidelines so your polycarbonate roof provides decades of reliable service. The purpose is to balance the roof’s aesthetic appeal with functional resilience. Whether sheltering a patio, greenhouse, or industrial shed, dependable installation, and routine care can optimize performance in diverse weather conditions.