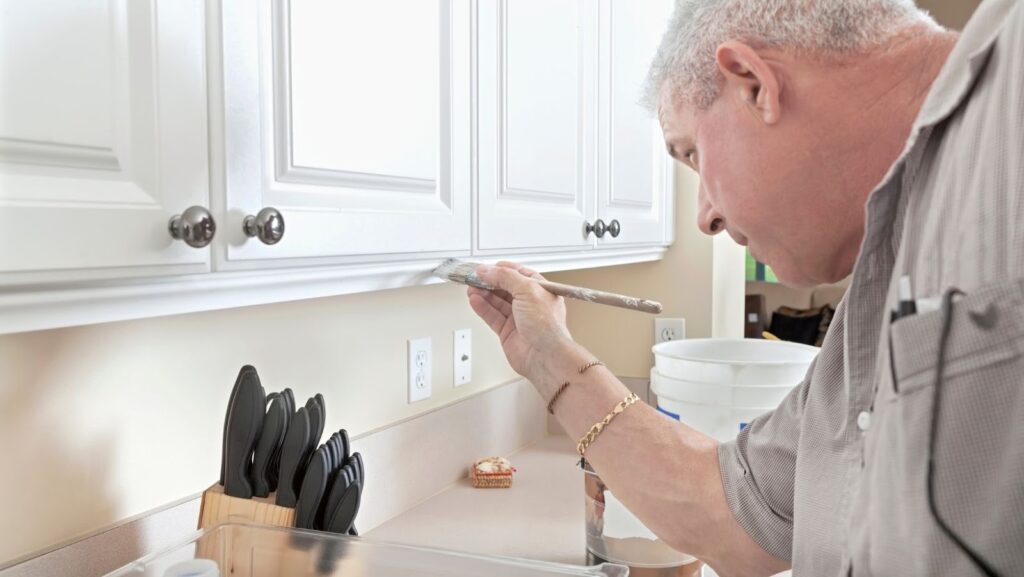
The first question you might be asking is, “Why paint wood trim?” After all, it’s one of the most classic and elegant features of any home. But there are a few good reasons to consider painting off wood trim:
1. It’s less expensive than replacing the trim entirely.
2. You can change the color of the trim to match the rest of your decor.
3. It’s a relatively easy DIY project that can be completed in a weekend.
Paint Trim Like a Pro-Step by Step Guide
Choose the right paint. When painting wood trim, it’s important to use a paint that is specifically designed for the job. Look for a paint that is labeled “high-gloss” or “semi-gloss.” These types of paints will adhere better to the surface and create a more durable finish.
Prepare the surface. Before painting, the trim must be properly prepared. This means sanding down the surface to create a smooth finish. If the trim is particularly glossy, you may need to use a deglosser to remove the shine.
Prime the trim. Once the trim is sanded and deglossed, it’s time to apply a primer. This will help the paint to better adhere to the surface and create a more even finish.
Paint the trim. Now it’s time for the fun part-painting! When painting, start with a small brush and work your way up to a larger one. Use long, even strokes to avoid leaving brushstrokes in the paint.
Finish up. Once the trim is painted, allow it to dry completely before applying a topcoat of varnish or polyurethane. This will help to protect the paint and keep it looking its best for years to come.
How to Get Paint Off Wood Trim
If you’re not happy with the color of your trim or simply want to change it up, there’s no need to replace the trim entirely. You can easily paint over it with a new color. But first, you’ll need to remove the old paint.
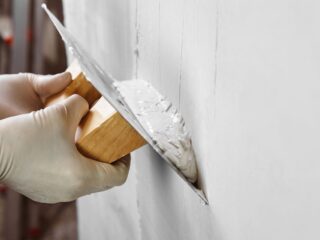
There are a few different ways to do this, but the easiest is to use a paint stripper. Just apply the stripper to the surface of the trim and let it sit for a few minutes. Then, use a putty knife or other scraper to remove the old paint.
Once all of the paint is removed, you’ll need to sand down the surface of the trim. This will help to create a smooth surface for the new paint to adhere to. After sanding, be sure to wipe down the trim with a damp cloth to remove any dust.
Now you’re ready to paint! Just follow the steps above to get a professional-looking finish.
How To Prepare Your Wooden Furniture For Painting
If you’re planning on painting any of your wooden furniture, there are a few things you need to do first in order to get the best results.
1. Strip off any old paint or finish. This can be done with a paint stripper or sandpaper.
2. Sand down the surface of the wood. This will help to create a smooth surface for the new paint to adhere to.
3. Wipe down the wood with a damp cloth. This will remove any dust or dirt from sanding.
4. Apply a primer. This will help the paint to better adhere to the surface and create a more even finish.
5. Paint the furniture with a high-quality paint. Use long, even strokes to avoid leaving brushstrokes in the paint.
6. Allow the paint to dry completely before applying a topcoat of varnish or polyurethane. This will help to protect the paint and keep it looking its best for years to come.
7. Enjoy your newly painted furniture!


