Videos are a great way to tell stories and share ideas. In schools and colleges, students often create documentaries for their projects. A well-edited video makes a story clearer, more engaging, and easier to follow.
Good video editing software helps improve a documentary. It lets you cut out mistakes, add background music, and use effects for smooth transitions. This makes the video look polished and professional. A well-edited video keeps the audience focused and interested.
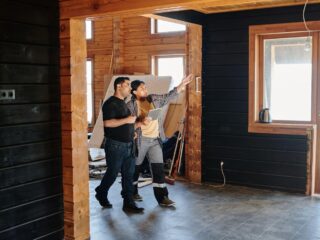
The background also matters. A messy or distracting background can take attention away from the main subject. Editing tools can help remove or change backgrounds, making the video look clean and professional.
Importance of Video Editing for Documentary Projects
Editing plays a big role in making documentaries better. It helps organize ideas, remove unwanted parts, and make the video flow smoothly. Without editing, a video might feel messy and confusing.
Good video editing software lets you arrange clips in a way that tells a clear story. It helps cut out long pauses, shaky footage, or parts that don’t add value. This keeps the audience engaged.
Transitions make moving between scenes feel natural. Without them, cuts can feel sudden and awkward. Background music adds emotion, making the video more powerful. Effects, when used wisely, highlight key points and make the documentary more visually appealing.
Imagine a documentary about climate change. If it has shaky footage and long pauses, people might lose interest. But if the video is edited to remove pauses, stabilize the camera, and add visuals, it becomes more powerful and engaging.
A well-edited documentary doesn’t just inform, it makes people care.
Essential Video Editing Features for Documentaries
Background Editing for a Professional Look
A clean background keeps the focus on the main subject. A messy or distracting one can take attention away from the story. A neat background makes the video look more professional.
CapCut’s background remover helps remove or change backgrounds easily. With just a few clicks, you can replace or blur the background. This is useful when the original setting doesn’t fit the theme. Some features are free, but advanced tools may require payment.
Choosing a simple background works best. It keeps the audience focused on the message without unnecessary distractions. A clean look makes the video more polished.
Adding Captions and Subtitles for Clarity
Captions make videos easier to understand. They help if the audio is unclear or if someone watches without sound. Subtitles also make the video accessible for people with hearing difficulties.
An auto-captions generator can save time by creating subtitles automatically. It makes sure the words are accurate and match the speech. CapCut PC offers text-to-speech and subtitle tools that are easy to use. Some features are free, but advanced options may require a subscription.
Always check captions for mistakes. If they don’t match the spoken words, they can be confusing. Well-timed captions help keep the audience engaged.
Using Transitions and Effects for Smooth Storytelling
Transitions help videos flow smoothly. Without them, scenes can feel sudden or choppy. Simple effects like fades or dissolves make changes look natural.
Filters can enhance the mood of the video. A warm filter can make a scene feel happy, while a dark filter can add drama. But too many effects can be distracting.
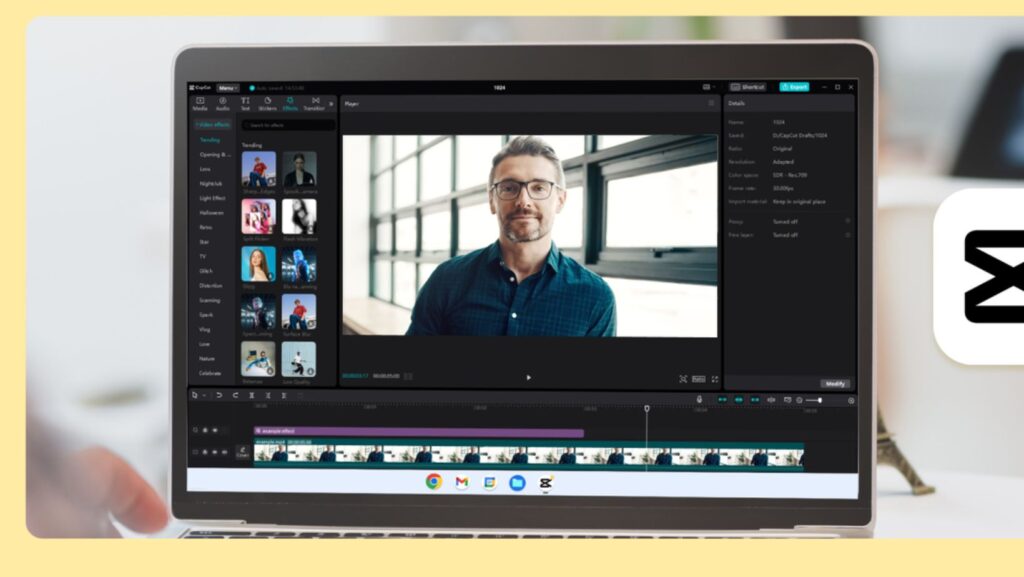
The goal is to improve storytelling, not overcomplicate it. CapCut PC has many transitions and effects. Choosing the right ones helps create a smooth and professional documentary.
Steps to Edit a Documentary Using CapCut PC
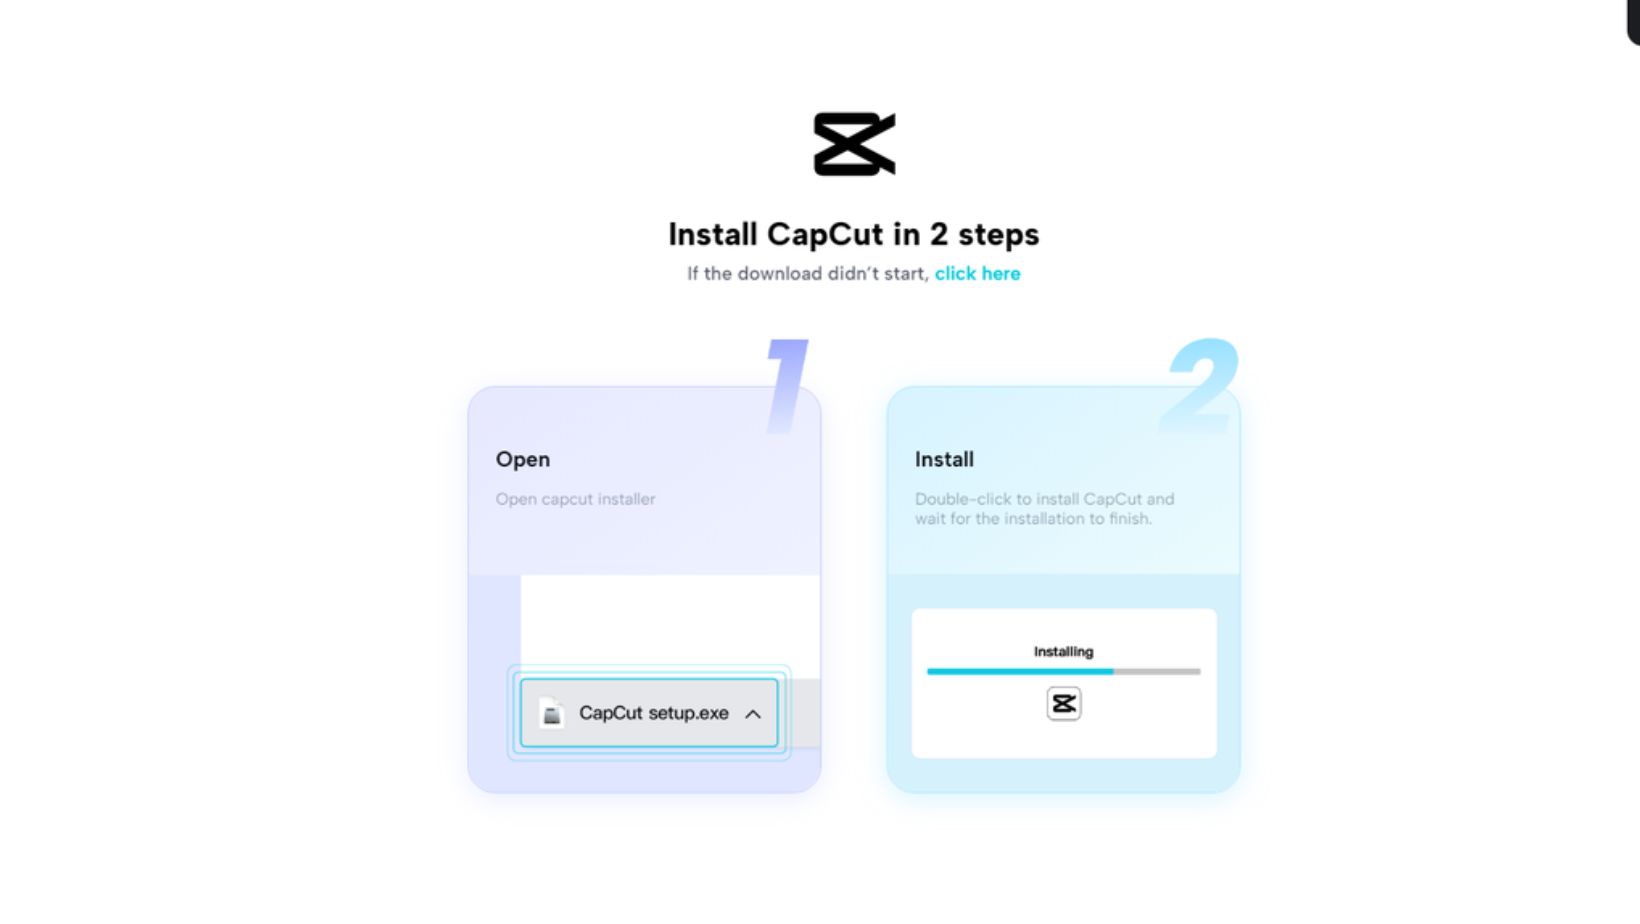
Step 1: Download and Install CapCut PC
To start, download CapCut PC from its official website. Install it on your device. Make sure your system meets the requirements. CapCut works on Windows, macOS, and mobile devices.
After installing, open the app. You may need to sign up or log in. The free version has many features, but some advanced tools need a paid plan.
Check the interface. It has a timeline, toolbar, and preview window. If you are new to editing, explore the layout first. This will help you work faster when you start your project.
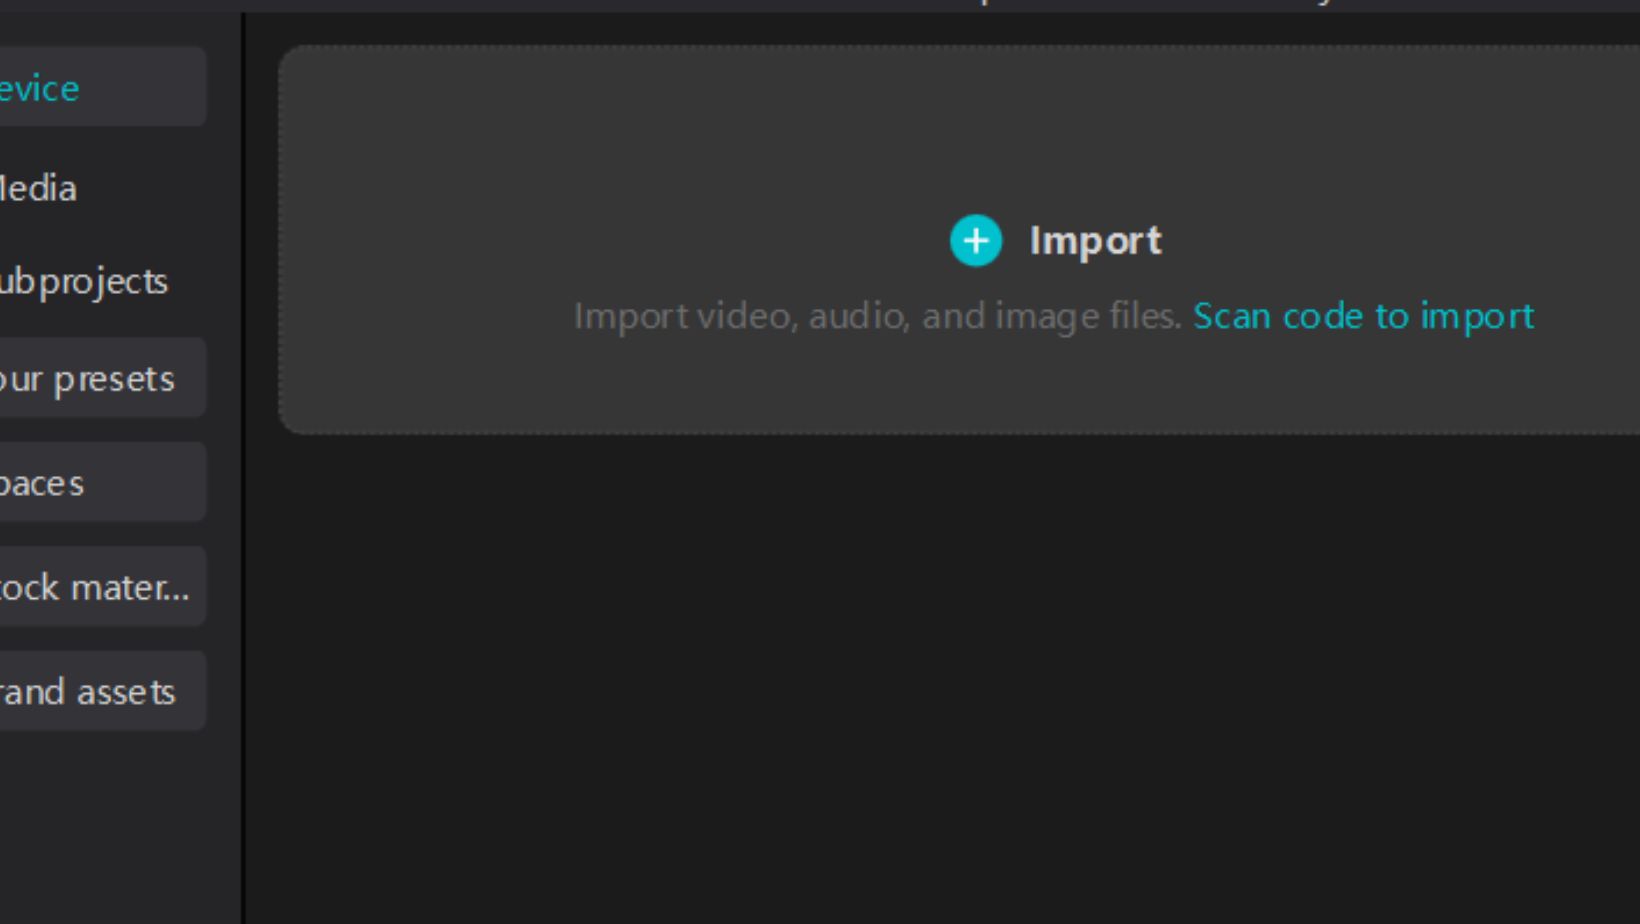
Step 2: Import Video Clips and Organize Timeline
Click the “Import” to add your video clips. You can also drag and drop files directly into the editor. Arrange the clips on the timeline.
Trim the parts you don’t need. Cut out mistakes or long pauses. Keep your clips in the right order to tell a clear story.
Use labels or markers if needed. This makes it easier to edit later. A well-organized timeline helps keep your video smooth and engaging.
Step 3: Apply Editing Tools and Effects
Now, start editing. Cut and split clips to remove errors. Use the background remover if needed. Adjust brightness, contrast, and colors.
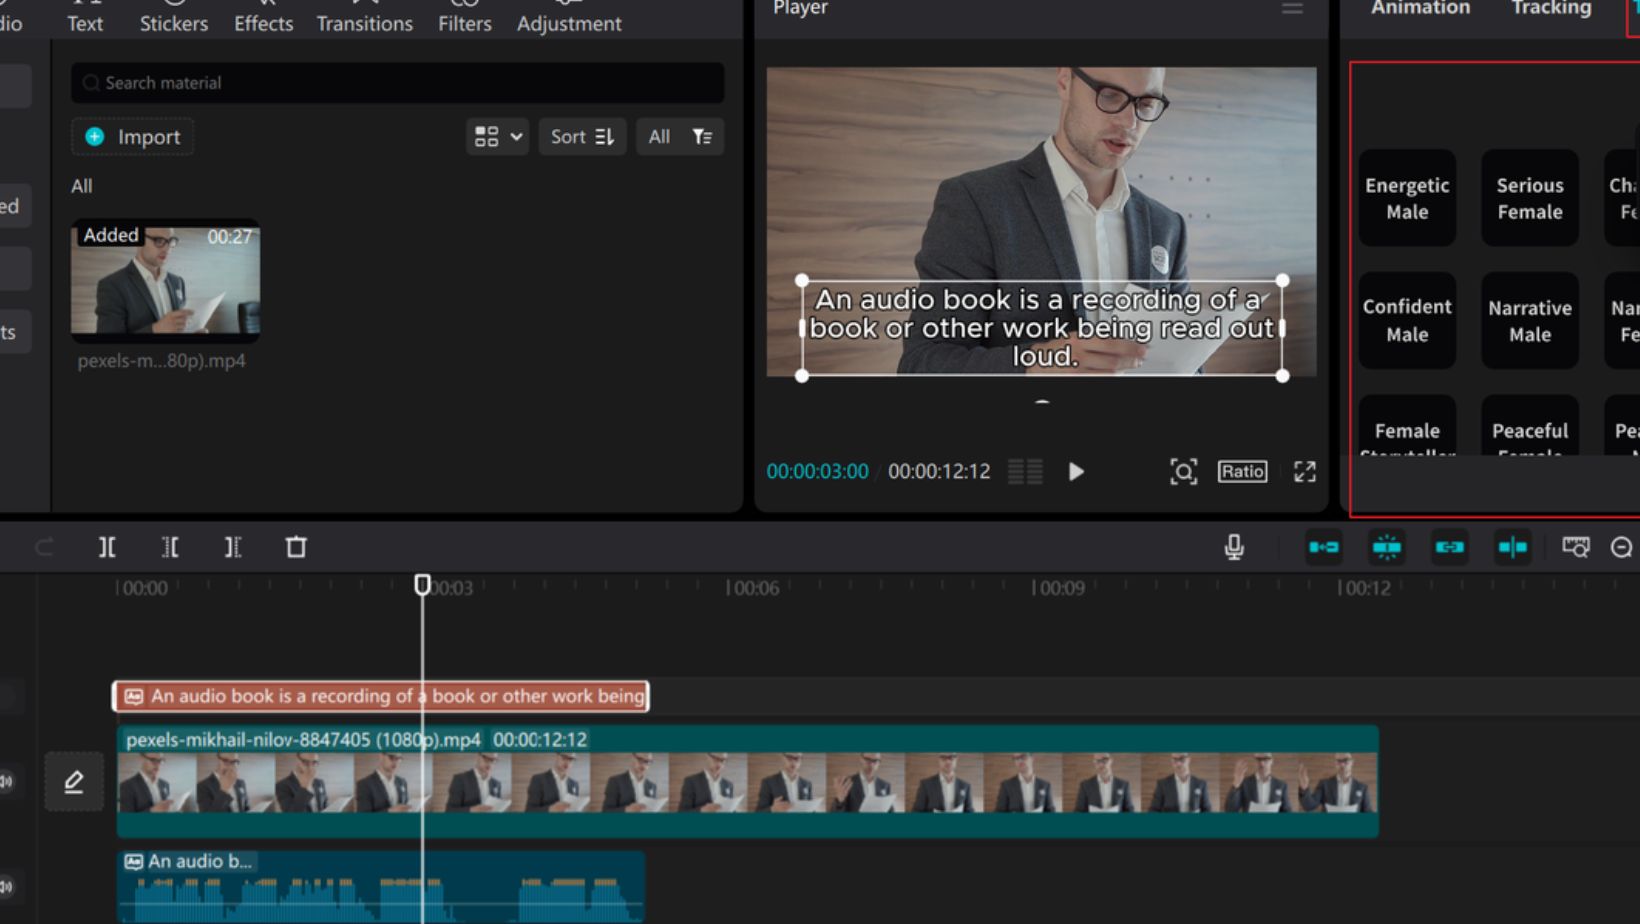
Click “Text” to add text to speech to turn written words into voiceovers. Use transitions for smooth scene changes. Avoid too many effects. Keep it simple and clear.
When done, preview your video. Make final adjustments. Your video is now ready for export.
Exporting and Sharing Your Documentary
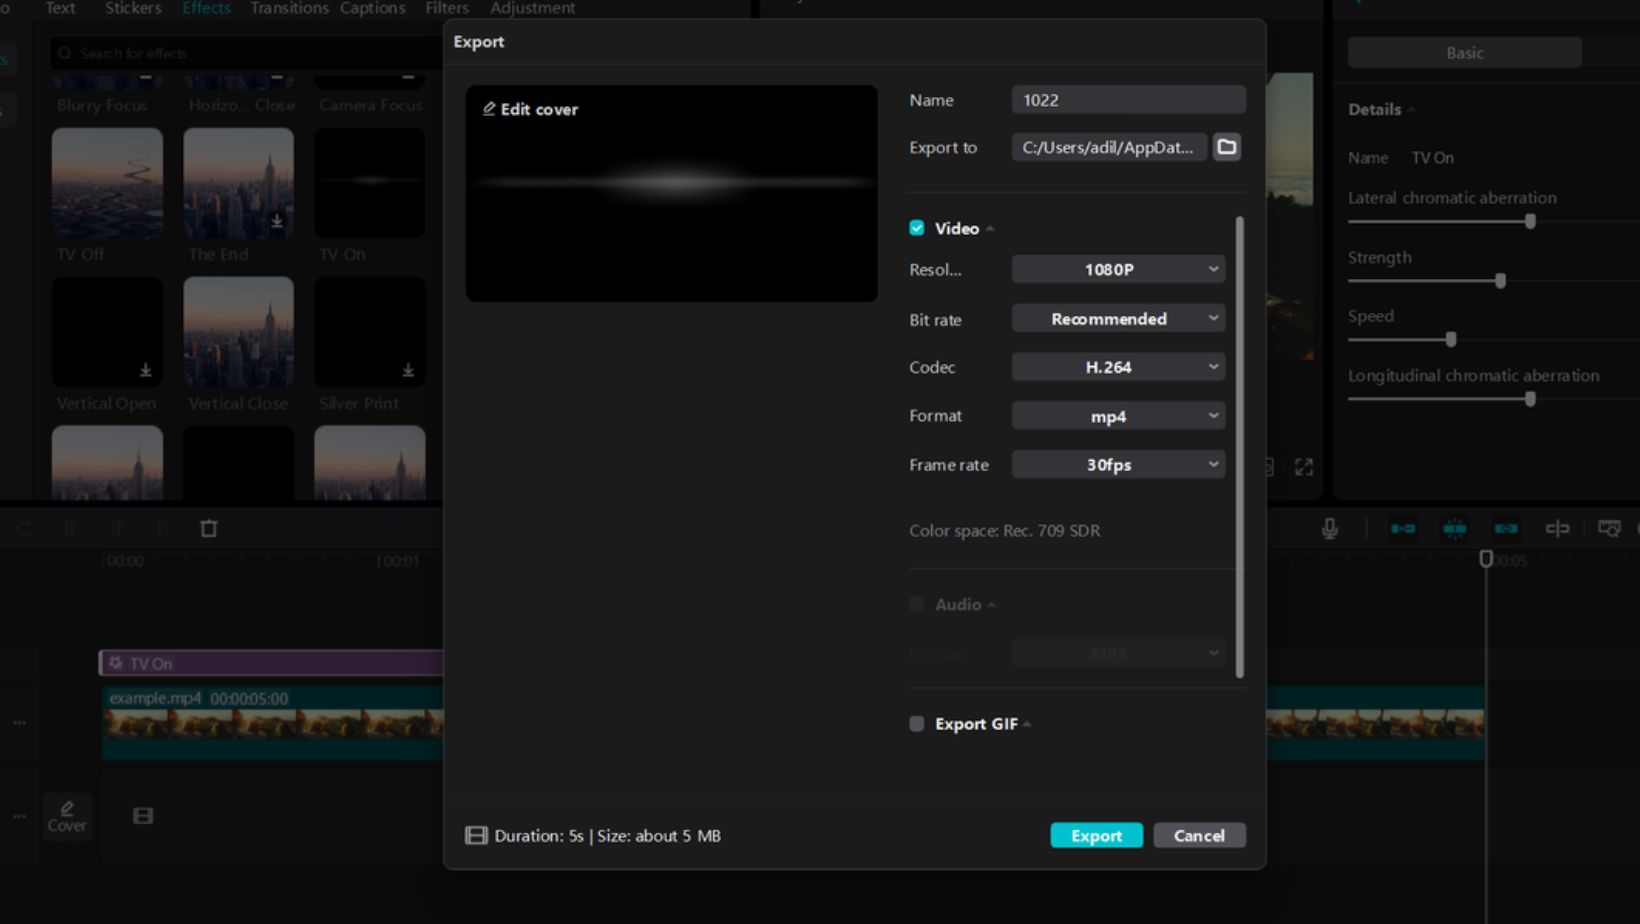
When exporting, choose the right settings. A high resolution (1080p or 4K) makes the video clear. A good frame rate (30 or 60 FPS) keeps the motion smooth.
Check everything before exporting. Watch the video to make sure there are no mistakes.
Click “Export” and choose high-quality settings. CapCut PC allows exporting without watermarks, but some advanced features might need payment.
Once exported, share your video! Upload it to YouTube, school websites, or social media. You can also save it on a USB drive or cloud storage.
A well-edited video tells a strong story. Share it with the right audience to make an impact.
Final Thoughts
Video editing makes documentaries more engaging and professional. It helps remove mistakes, improve flow, and tell a better story.
CapCut PC is a great tool, though some advanced features require payment. It offers many options to enhance your video and make it look polished.
Start editing today! A well-edited video grabs attention, shares ideas better, and leaves a lasting impression. Use the right tools to bring your story to life and make your project stand out.