There is nothing quite like the satisfaction of completing a DIY project well. With a few tips and tricks, you can get the perfect baseboard every time and avoid the common mistakes that many people make. In this blog post, we’ll cover everything you need to know to get started with baseboard installation.
There is nothing like a fresh coat of paint to give a space new life. But even the most accomplished painter can run into problems when it comes to baseboards. Whether it’s getting them perfectly level or keeping them free of paint splatters, achieving perfect baseboards can be tricky.
How to nail baseboards with hammer
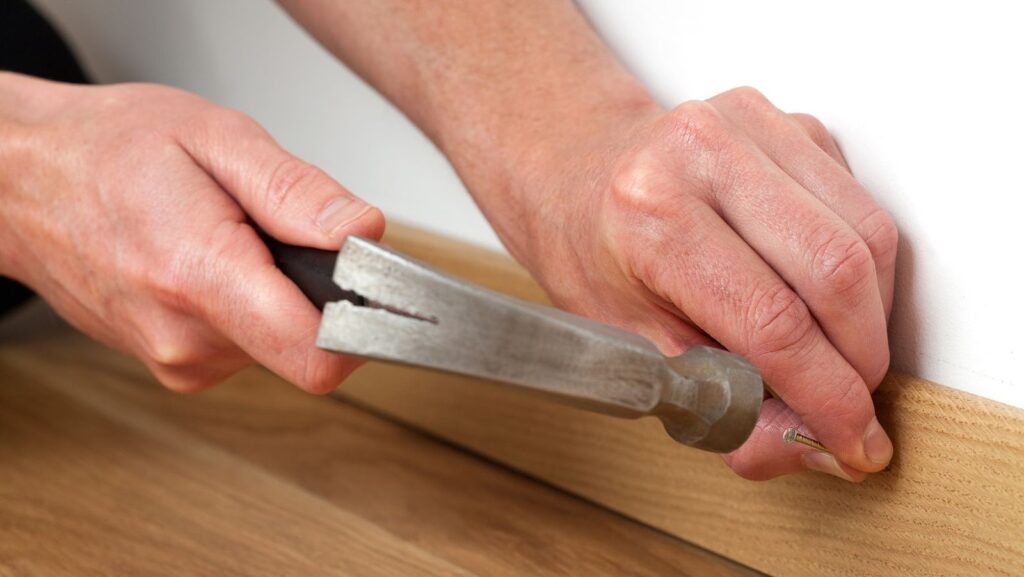
One of the most common mistakes people make when installing baseboards is not nailing them properly. This can cause the boards to come loose over time, creating an unsightly gap between the wall and the trim. To avoid this, be sure to use a hammer to drive the nails into the wall at a 45-degree angle.
Another mistake is not using enough nails. It’s important to use enough nails to secure the baseboard in place, but you don’t want to go overboard and use too many. This can cause the trim to crack or split. The general rule of thumb is to use one nail for every foot of the baseboard.
Measure the length and width of your baseboard
Before you can install your baseboard, you need to measure the length and width of the area you’ll be working in. This will ensure that you have enough baseboard to complete the project and that it will fit properly.
Make sure to measure twice and cut once to avoid any mistakes. Once you have the measurements, use a saw to cut the baseboard to size. A power saw will make the job easier, but a hand saw will work just as well.
Cut a piece of wood to those dimensions
There’s a lot of satisfaction that comes with doing things yourself. When you take on a project and complete it, there’s a feeling of accomplishment that can’t be beat. And one of the easiest ways to get this feeling is by cutting your own wood. All you need is a saw and some patience, and you can have the exact piece of wood you need for your next project.
I’m about to show you how to cut a piece of wood to the dimensions you need. This is a skill that every DIY enthusiast should learn. It’s simple, but very effective. With a little practice.
Stain or paint the wood to match your home’s décor
After you’ve cut the wood to size, it’s time to stain or paint it to match your home’s décor. This is a crucial step in getting the perfect baseboard, as it will ensure that the trim blends in seamlessly with the rest of the room.
There are a few things to keep in mind when choosing a stain or paint for your baseboard. First, consider the color of the room you’re working in. You want to choose a shade that complements the existing colors. Second, think about the finish you want. A high-gloss finish will give the room a more formal look, while a matte finish will provide a more relaxed feel.
Nail the wood to the wall, making sure it’s level with the floor
Once you’ve stained or painted the wood, it’s time to nail it to the wall. This is where things can get a little tricky, as you need to make sure that the baseboard is level with the floor. The best way to do this is by using a level.


