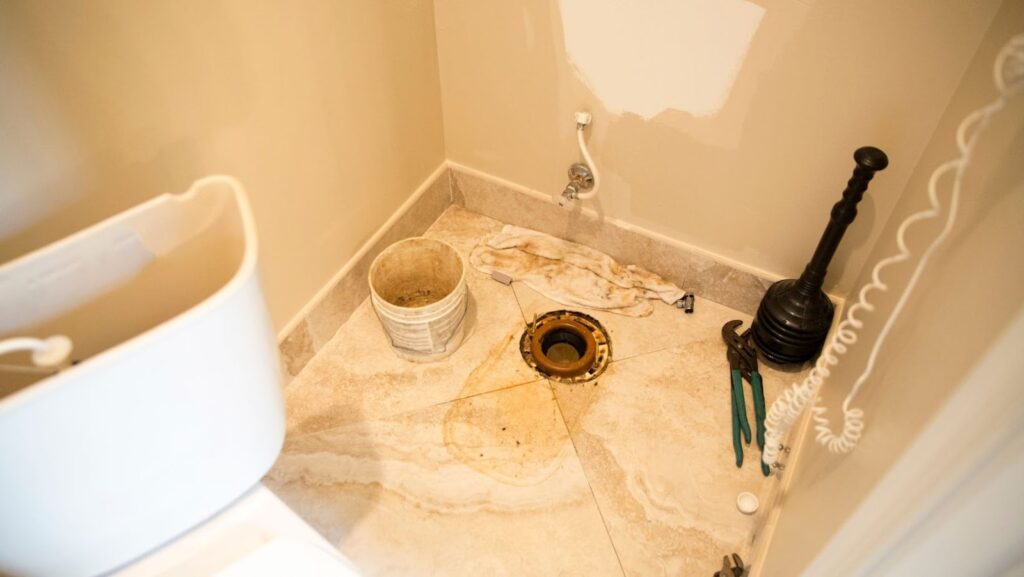
A toilet flange is a small, but important, piece of hardware that attaches your toilet to the floor and connects it to your home’s sewer system. If your flange is broken or damaged, it can cause serious problems with your toilet, including leaks and clogs. Fortunately, replacing a toilet flange is a relatively easy DIY project that anyone can do with a few simple tools.
Tools You’ll Need:
– Screwdriver
– Wrench
– Hammer
– Chisel
– Putty Knife
– Pliers
– New Toilet Flange
1. Start by turning off the water to your toilet. Flush the toilet to empty out the tank, then remove the lid and set it aside. Use a wrench to disconnect the water supply line from the bottom of the tank.
2. Next, you’ll need to remove the bolts that attach the toilet to the floor. There are usually two bolts, one on each side of the toilet. Use a wrench or socket to remove the bolts, then lift the toilet off the flange. If the bolts are rusted and won’t budge, you may need to use a hacksaw or power drill to cut them off.
3. Once the toilet is removed, take a look at the flange to see if it needs to be replaced. If the flange is cracked, warped, or otherwise damaged, it will need to be replaced. If the flange looks in good condition, you may be able to simply clean it and reuse it.
4. To remove the old flange, use a chisel and hammer to break it into small pieces. Once the flange is in small pieces, use a putty knife or screwdriver to pry it off the floor. If there is any old putty or caulk on the floor, be sure to remove it as well.
5. Now it’s time to install the new flange. Start by applying a generous amount of plumber’s putty around the base of the flange. Next, place the flange on the floor and press it into place. Use a hammer to tap the flange into place if needed.
6. Once the flange is in place, replace the bolts and tighten them down. Be sure not to overtighten the bolts, as this can damage the flange. Finally, reattach the water supply line and turn on the water.
7. Once the water is turned back on, flush the toilet a few times to check for leaks. If there are no leaks, you’re all done! Replacing a toilet flange may seem like a daunting task, but it’s actually quite easy. With a few simple tools and a little bit of know-how, anyone can do it.
Background
Toilet flanges are an essential part of any toilet. They provide a seal between the toilet and the drain pipe, and they also support the weight of the toilet. Over time, they can become worn or damaged, which can cause leaks and other problems. If you’re having trouble with your toilet flange, it’s probably time to replace it.
Here are seven easy steps to replace a toilet flange:
1. Turn off the water supply to the toilet.
2. Flush the toilet to empty the tank and bowl.
3. Disconnect the water supply line from the toilet.
4. Remove the bolts that secure the toilet to the floor.
5. Lift the toilet off of the flange.
6. Clean the old flange and install a new one.
7. Reconnect the water supply line and turn on the water.
8. Replace the bolts that secure the toilet to the floor.
9. Flush the toilet to test the new flange.
10. Enjoy your leak-free toilet!
How to remove toilet flange
Replacing a toilet flange is a relatively easy DIY project that anyone can do with a few simple tools. If your flange is damaged or broken, it’s important to replace it as soon as possible to avoid serious problems with your toilet. Follow the steps outlined above and you’ll have a new flange installed in no time.


