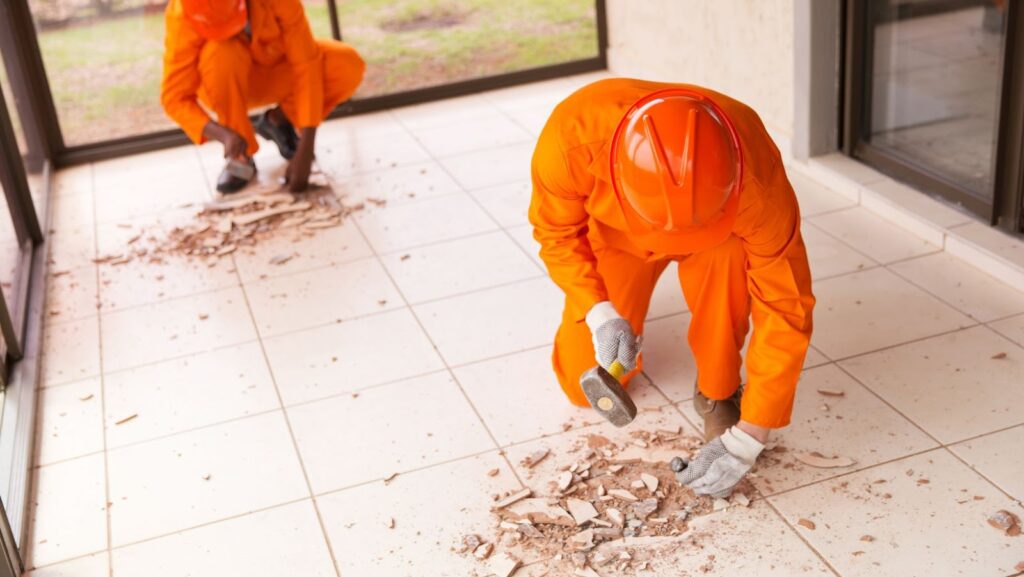
Removing tile flooring from a wood subfloor can be a challenging and time-consuming task. However, with the right tools and techniques, it is possible to remove the tile flooring without damaging the wood subfloor.
There are several methods that can be used to remove tile flooring from a wood subfloor. The most common methods include chiseling and grinding. However, these methods can be very time-consuming and labor-intensive. In addition, they can also damage the wood subfloor if not done properly.
How to remove tile floor from wood subfloor
The best way to remove tile flooring from a wood subfloor is to use a power drill with a carbide-tipped bit. This type of bit is designed to quickly and easily remove tile flooring.
First, mark the center of each tile with a pencil. Next, drill a hole in the center of each tile. Be sure to drill the holes slightly larger than the carbide-tipped bit.
Once all of the holes have been drilled, insert the carbide-tipped bit into the power drill. Begin drilling into the center of each tile. Be sure to apply moderate pressure while drilling.
Remove the grout using a grout removal tool
Once all of the tile has been removed, use a grout removal tool to remove the grout from the wood subfloor. Be sure to follow the manufacturer’s instructions when using the grout removal tool.
After the grout has been removed, vacuum the area to remove any dust or debris. Now that the tile flooring has been removed, you can begin installing the new flooring of your choice.
Pry up the tiles using a prybar
If you do not have a power drill or carbide-tipped bit, you can use a prybar to remove the tile flooring. First, insert the prybar under the edge of the tile. Next, apply moderate pressure to the prybar to lift up the tile.
Work your way around the room, prying up the tiles until they are all removed. Once all of the tiles have been removed, use a grout removal tool to remove the grout from the wood subfloor. Be sure to follow the manufacturer’s instructions when using the grout removal tool.
Sand down the wood subfloor until it’s even and smooth
After the grout has been removed, vacuum the area to remove any dust or debris. Now that the tile flooring has been removed, you can begin installing the new flooring of your choice. However, before you install the new flooring, you will need to sand down the wood subfloor.
Use a palm sander or orbital sander to sand down the wood subfloor. Be sure to sand the entire surface until it is smooth and even. Once the wood subfloor is sanded, you can vacuum the area to remove any dust or debris.
Apply a coat of primer to the subfloor
After the wood subfloor is sanded, you will need to apply a coat of primer. Be sure to follow the manufacturer’s instructions when applying the primer. Once the primer is dry, you can begin installing the new flooring of your choice.
Removing tile flooring from a wood subfloor can be a challenging and time-consuming task. However, with the right tools and techniques, it is possible to remove the tile flooring without damaging the wood subfloor. The best way to remove tile flooring from a wood subfloor is to use a power drill with a carbide-tipped bit.
Paint or stain the subfloor to match the color of your flooring
If you are installing a new hardwood floor, you will need to paint or stain the subfloor to match the color of your flooring. Be sure to follow the manufacturer’s instructions when painting or staining the subfloor. Once the subfloor is painted or stained, you can begin installing the new hardwood floor.
Installing a new hardwood floor over a tile floor
If you are installing a new hardwood floor over an existing tile floor, you will need to remove the tile flooring before you can install the hardwood floor. The best way to remove tile flooring from a wood subfloor is to use a power drill with a carbide-tipped bit. First, mark the center of each tile with a pencil. Next, drill a hole in the center of each tile.


