Ceiling painting is becoming an increasingly popular way to add a personal touch to your home. While many people opt for traditional white or cream coloured ceilings, more adventurous homeowners are choosing to paint their ceilings in a variety of different colours and designs. If you’re thinking about painting your ceiling, there are a few things you should keep in mind to ensure the best results. For a flawless finish and expert advice, consider working with professional ceiling painters in Honolulu, who have the skills and experience to bring your vision to life.
Choosing the Right Colour
The first step in painting your ceiling is to choose the right colour. When it comes to ceiling painting, light colours are typically the best choice. Light colours will help to reflect light and make your room appear brighter and more open. If you have a small room, opt for a light colour such as white, cream, or pale blue. For a larger room, you can experiment with slightly darker shades such as light green or pink.
Getting the Right Finish
Once you’ve chosen the perfect colour for your ceiling, it’s time to decide on the finish. A semi-gloss or high-gloss finish will be the easiest to clean and will resist fingerprints and stains. If you’re looking for a more matte finish, an eggshell or flat paint is a good option. Keep in mind that flat paints are more susceptible to damage and will require more touch-ups over time.
Prepping the Room
Before you start painting, it’s important to prep the room. Begin by removing all furniture from the room and covering any remaining items with a drop cloth. Next, use painter’s tape to protect any areas that you don’t want paint to get on, such as baseboards, windowsills, and doorframes. Once the room is prepped, you’re ready to start painting!
painting your ceiling is a great way to add personality to your home. With a little bit of planning and the right supplies, you can achieve professional-looking results. Follow the tips in this guide to ensure a successful ceiling painting project.
How to paint high ceilings
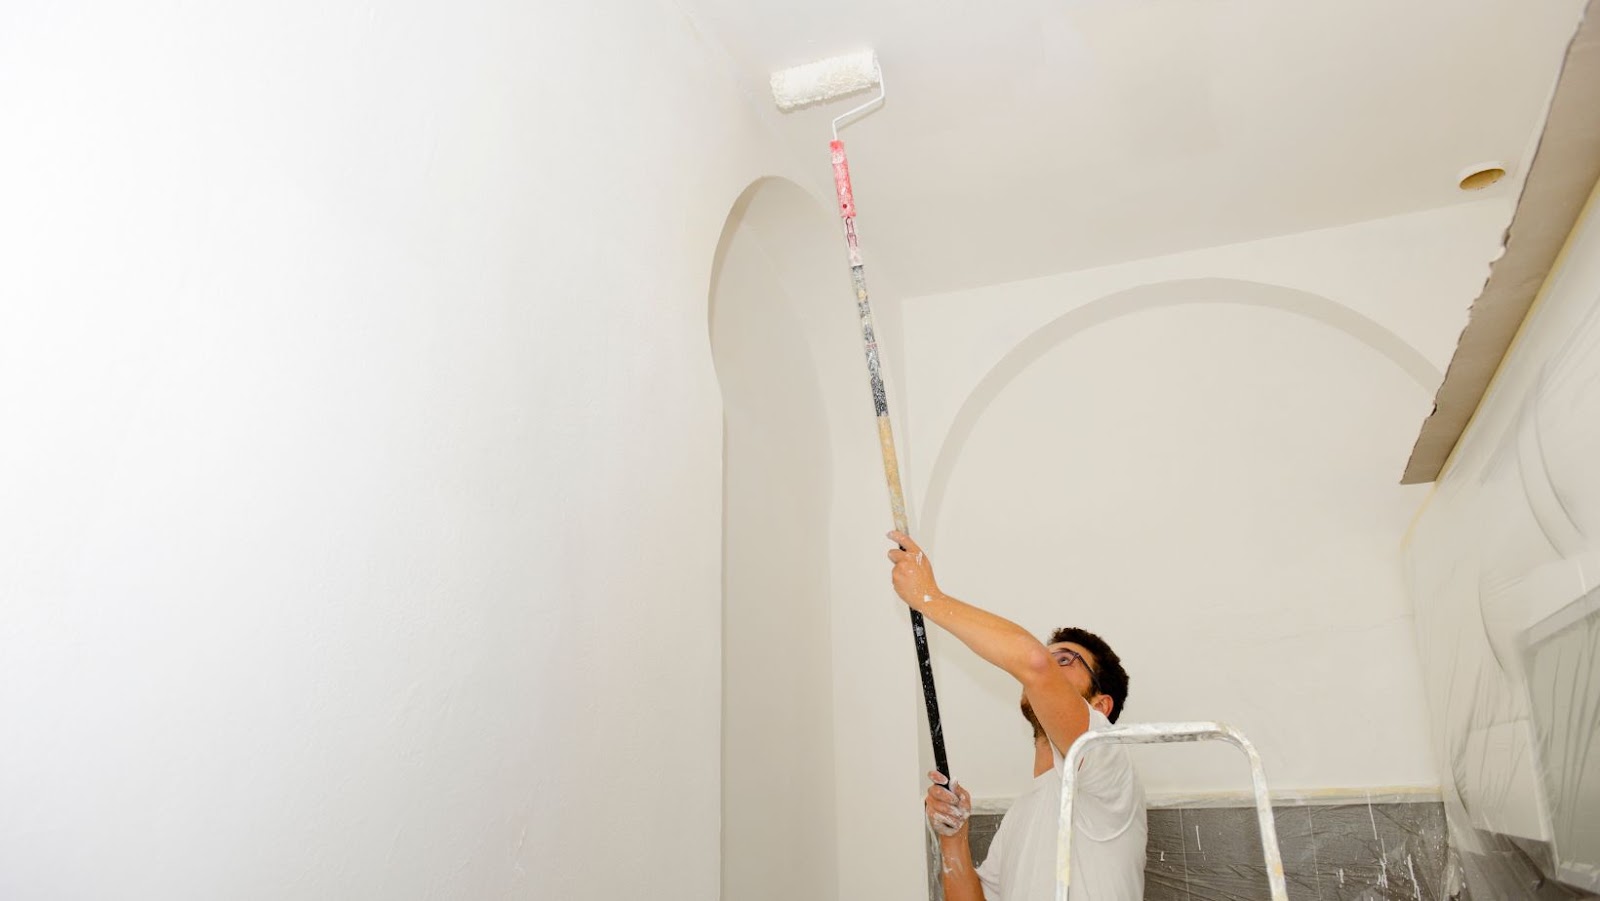
If you’re painting a ceiling that’s higher than eight feet, you’ll need to take some extra precautions to avoid painters’ fatigue and ensure a quality finish. Here are a few tips for painting high ceilings:
- Use an extension ladder or scaffolding to reach the top of the ceiling.
- When cutting in around the edges of the ceiling, use a small brush or roller extension to avoid having to stretch too far.
- To avoid drips and runs, always start painting in the middle of the ceiling and work your way out towards the edges.
- Use a light touch when painting to avoid leaving brushstrokes in the paint.
- If possible, have someone else help you by holding the ladder or scaffolding steady while you paint.
By following these tips, you can avoid common mistakes when painting high ceilings. With a little extra effort, you’ll be able to achieve professional-looking results.
How to paint a ceiling with a brush or roller
Once you’ve chosen the right colour and finish for your ceiling, it’s time to start painting. If you’re using a brush, start by dipping it into the paint and then dabbing it onto the ceiling to create a small puddle of paint. Then, use long strokes to spread the paint evenly across the surface. For best results, use a brush with synthetic bristles.
If you’re using a roller, pour some paint into a tray and then roll it onto the ceiling. Start in one corner of the room and work your way across in even strokes. Furthermore, for tight spaces, you can use narrow scaffolding. Be sure to load the roller with enough paint so that it doesn’t dry out before you’re finished.
Whichever method you choose, be sure to paint in light, even coats. It’s better to apply several thin coats of paint than one thick coat. Allowing each coat of paint to dry completely before applying the next will also help to avoid drips and runs.


